Full Cosplay
My Cosplay:
|
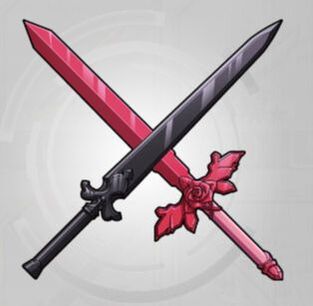
Original Design:
|
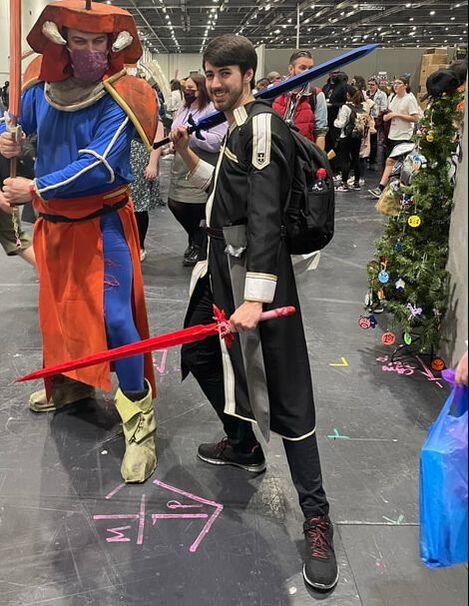


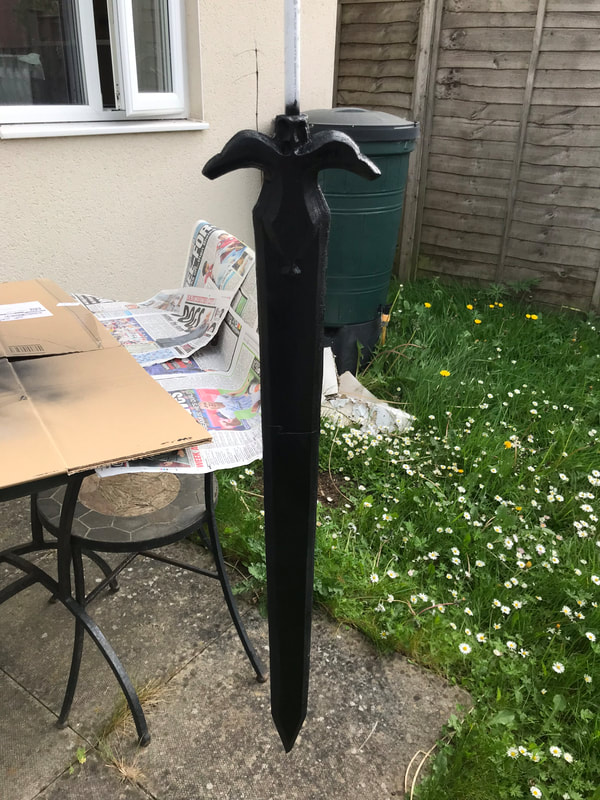
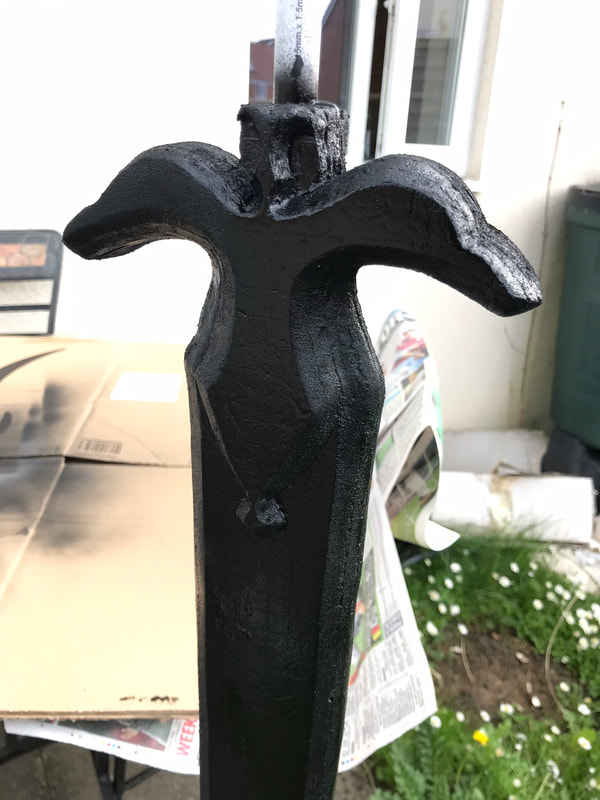
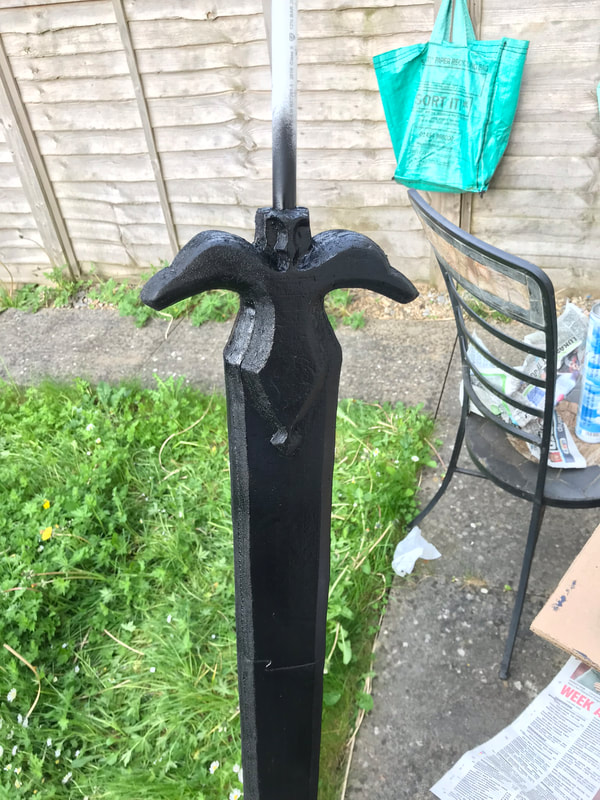
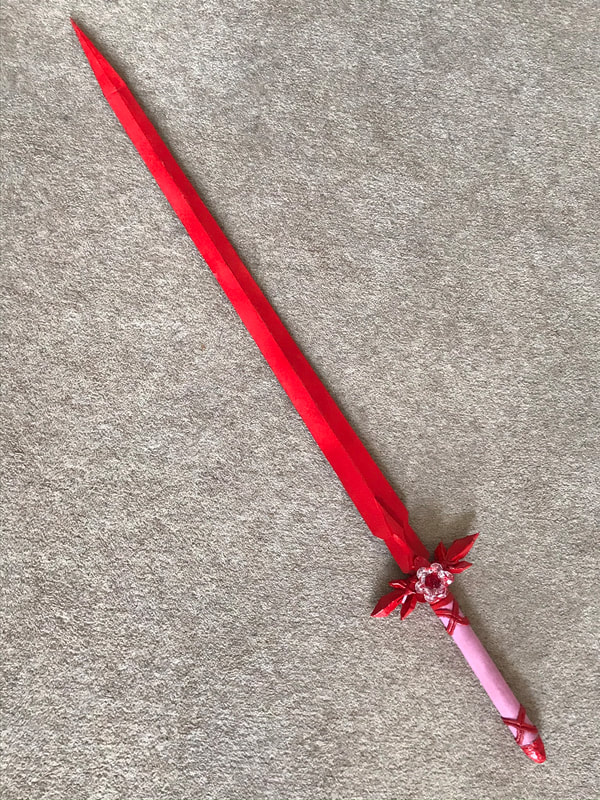
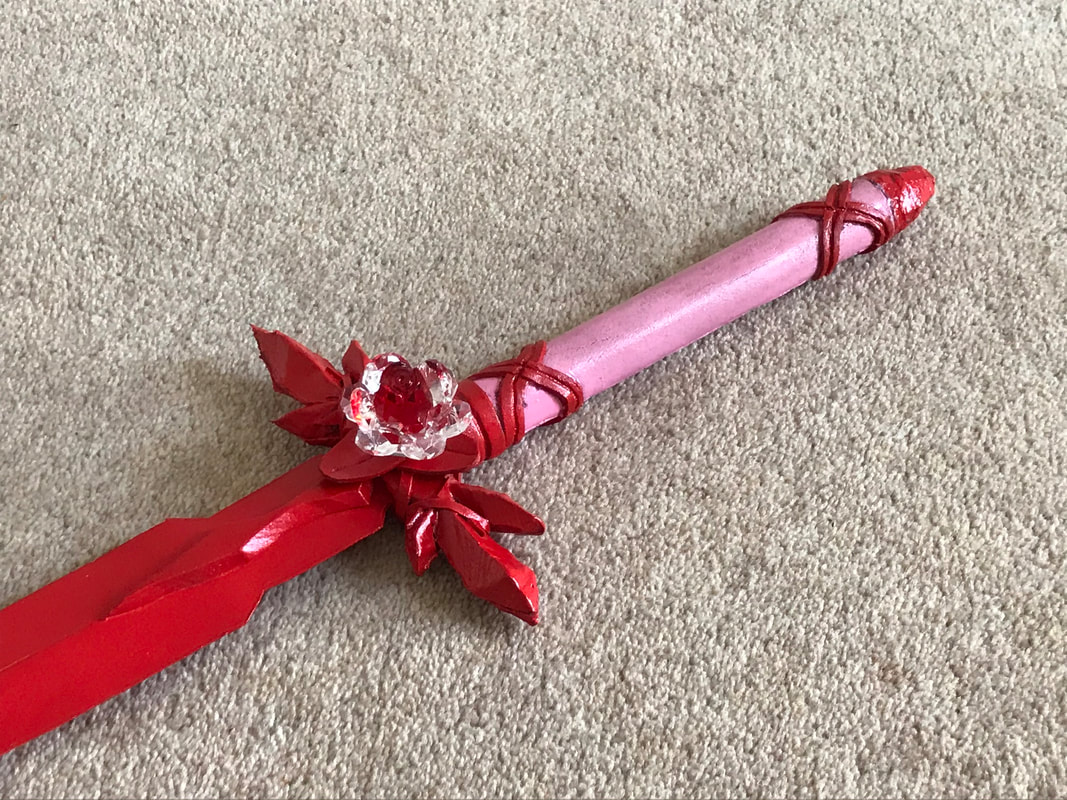
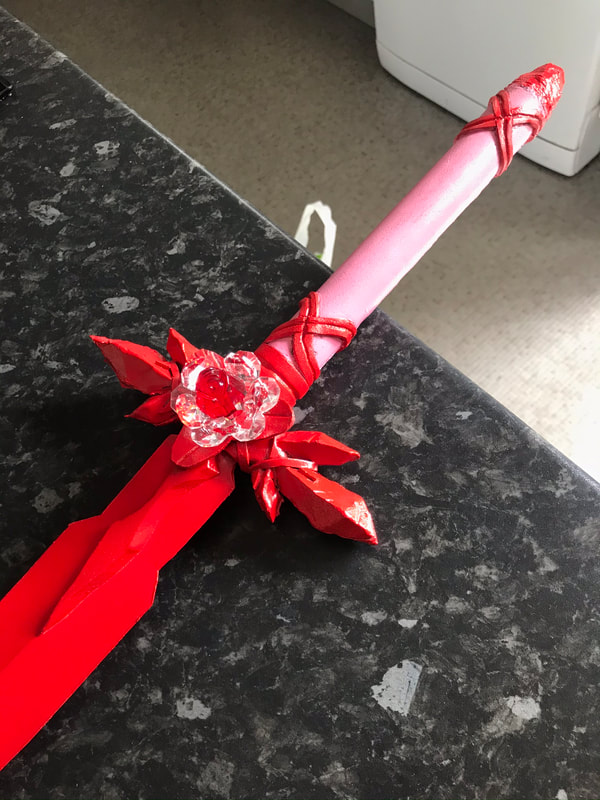
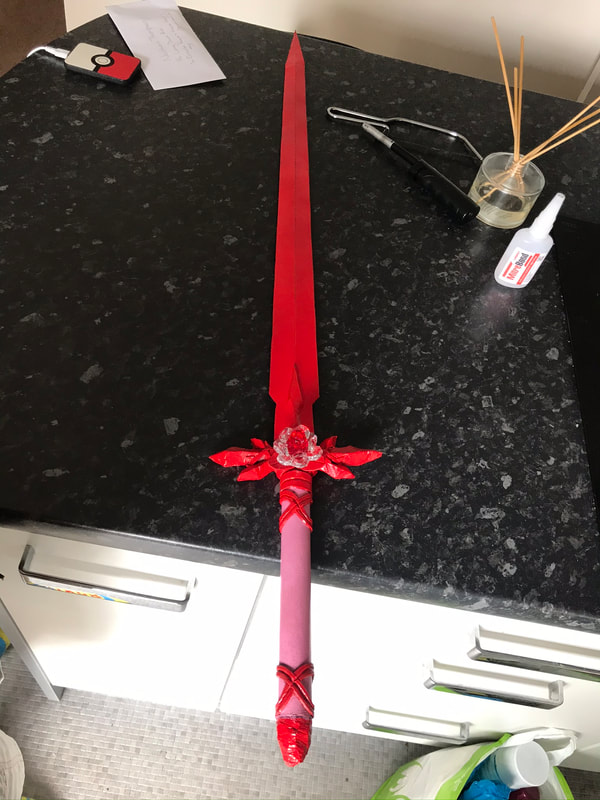
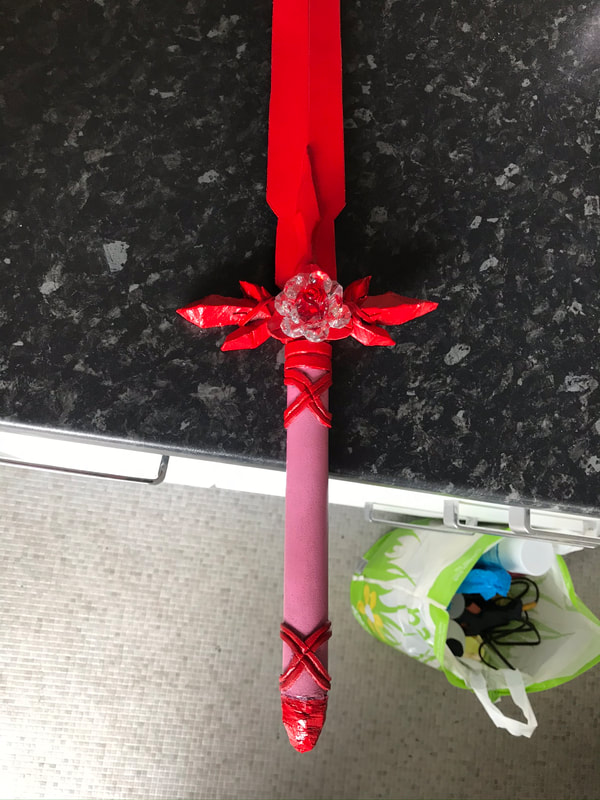
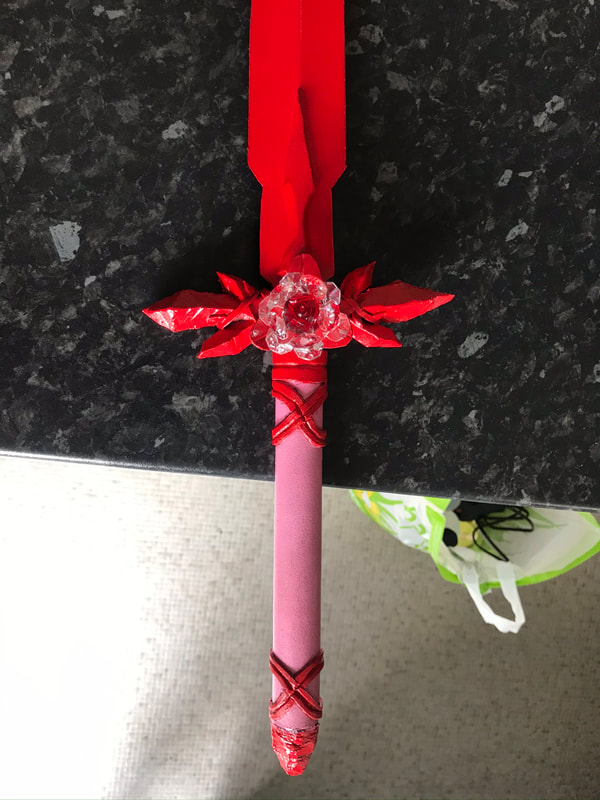
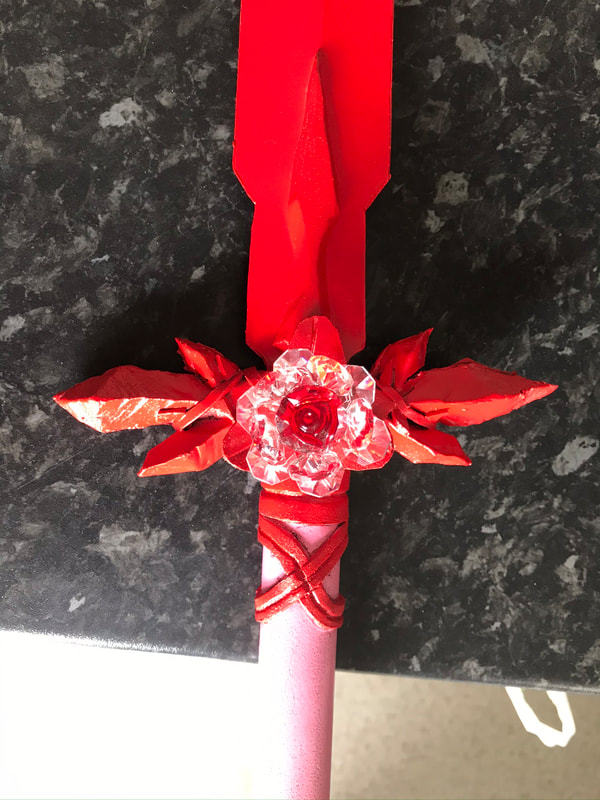
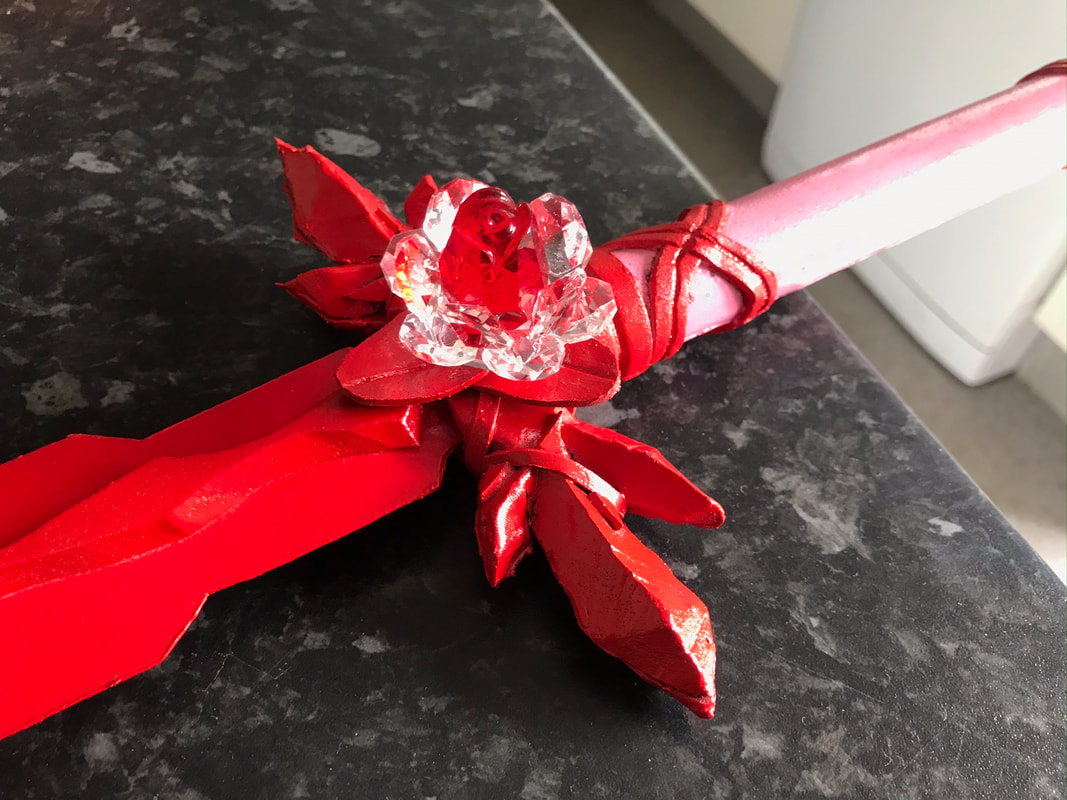
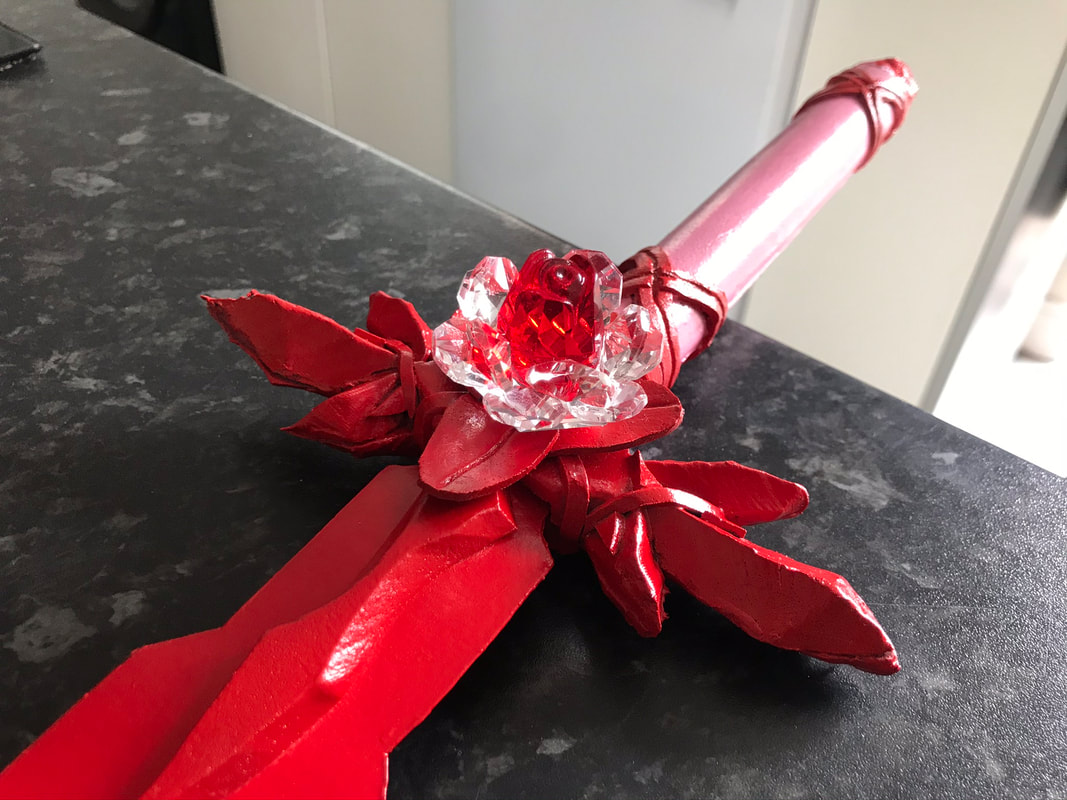
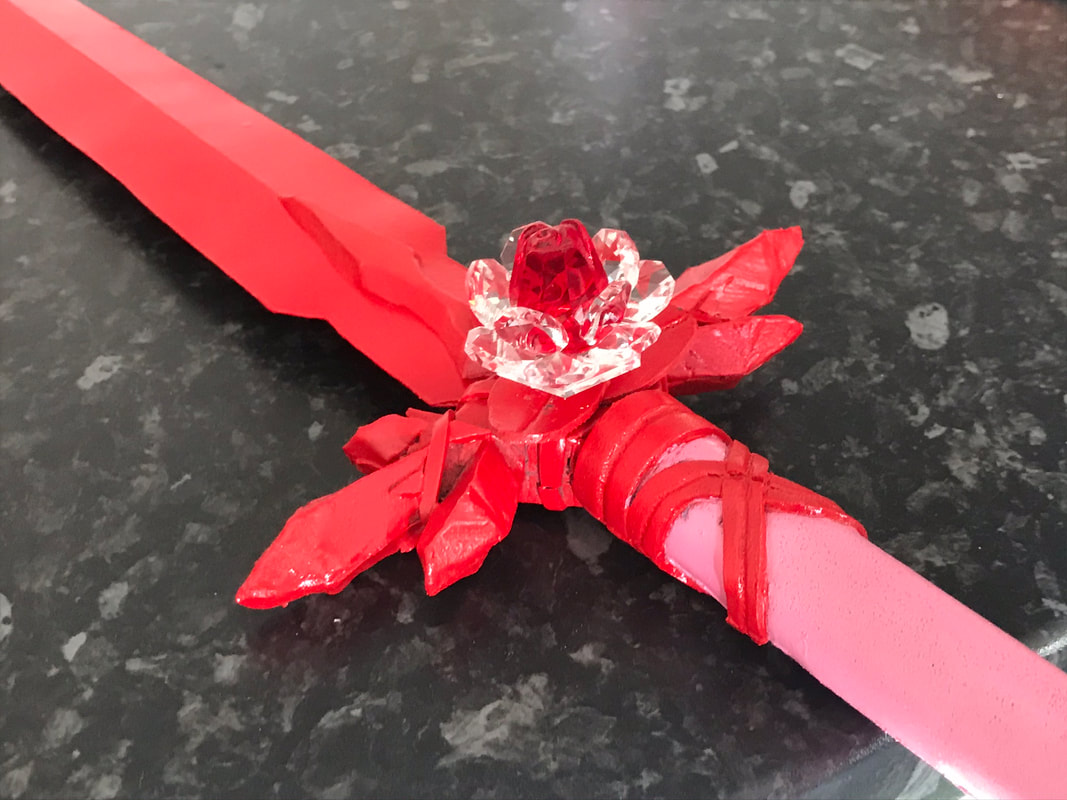
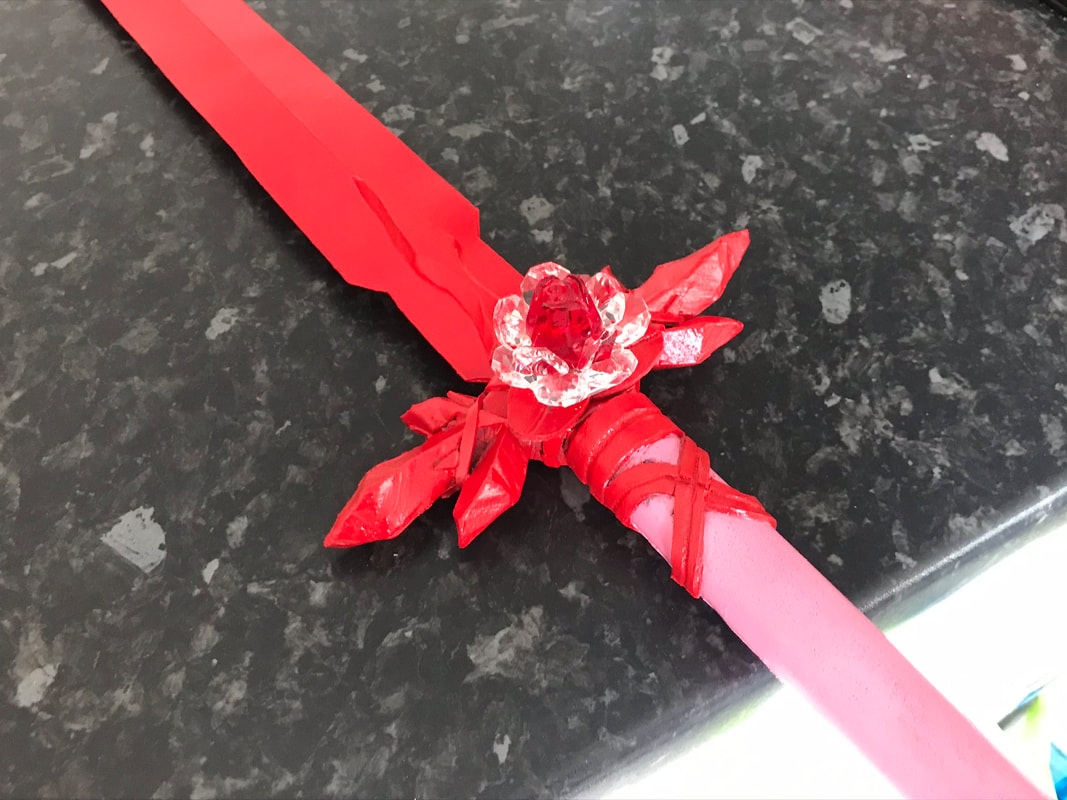
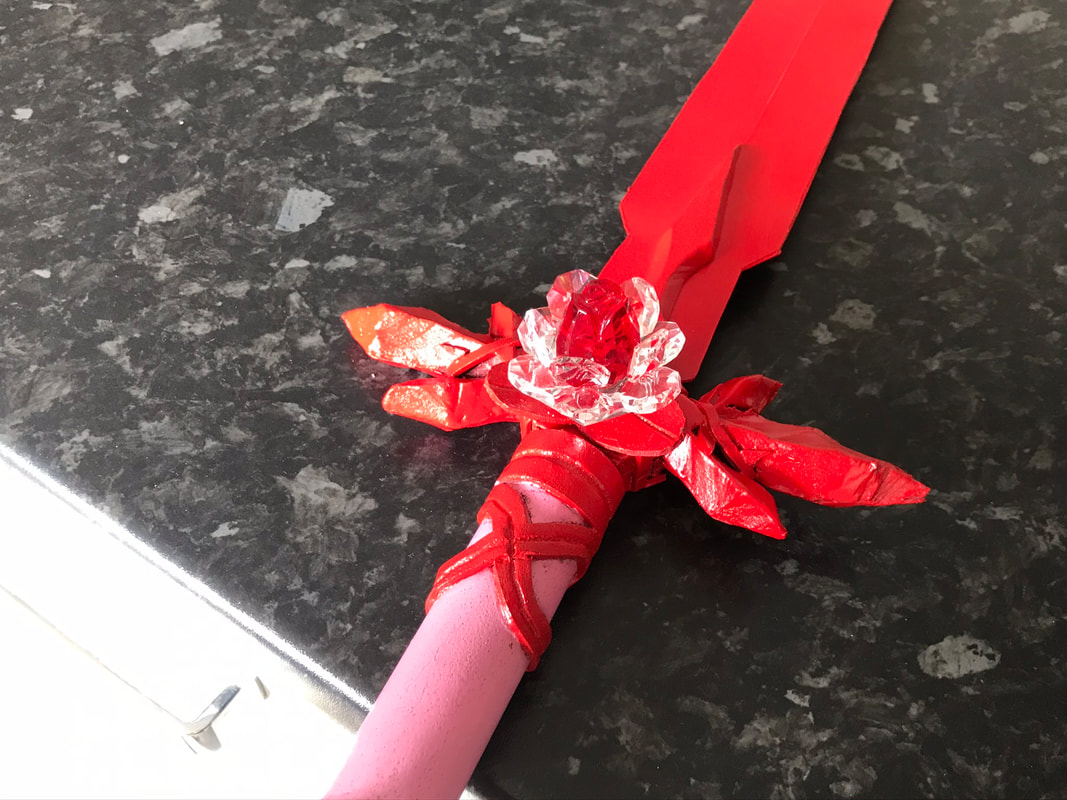
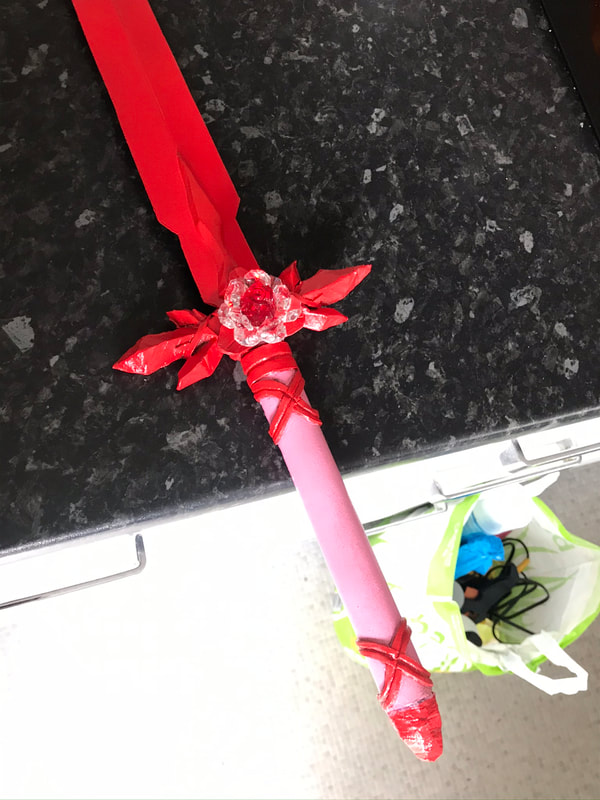
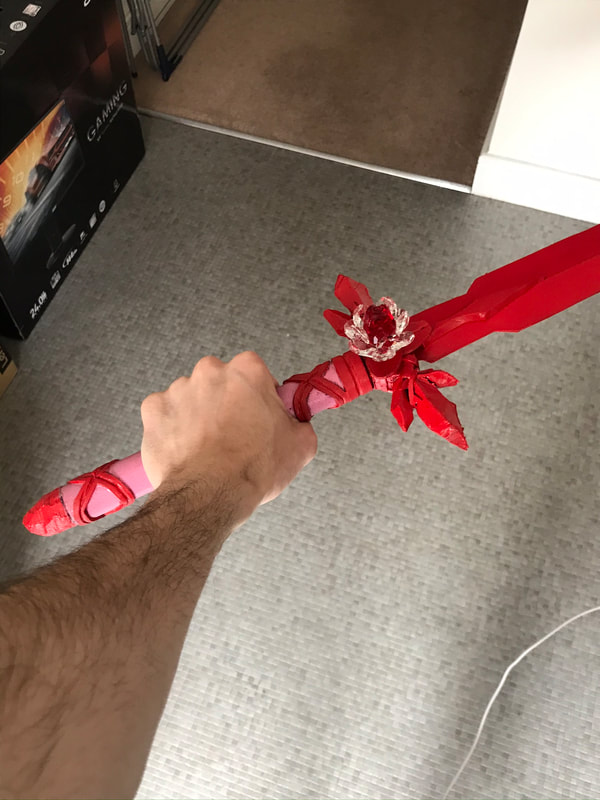
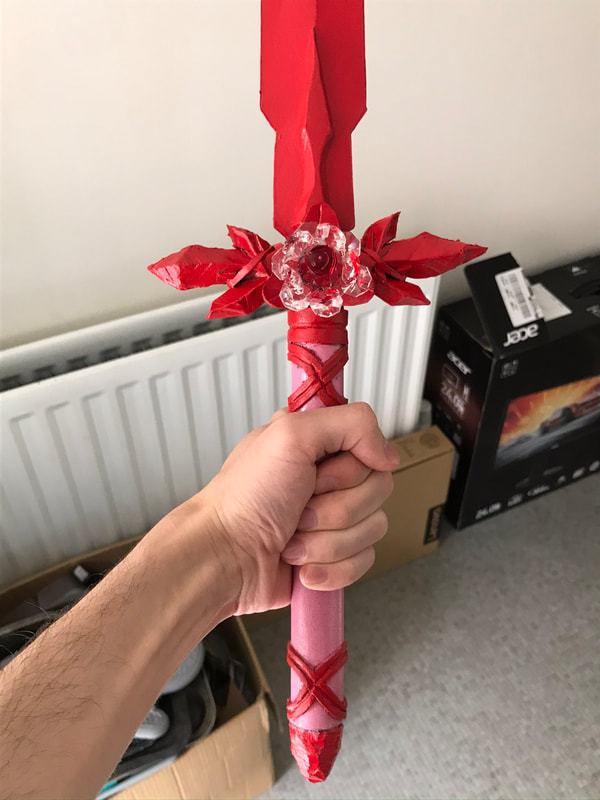
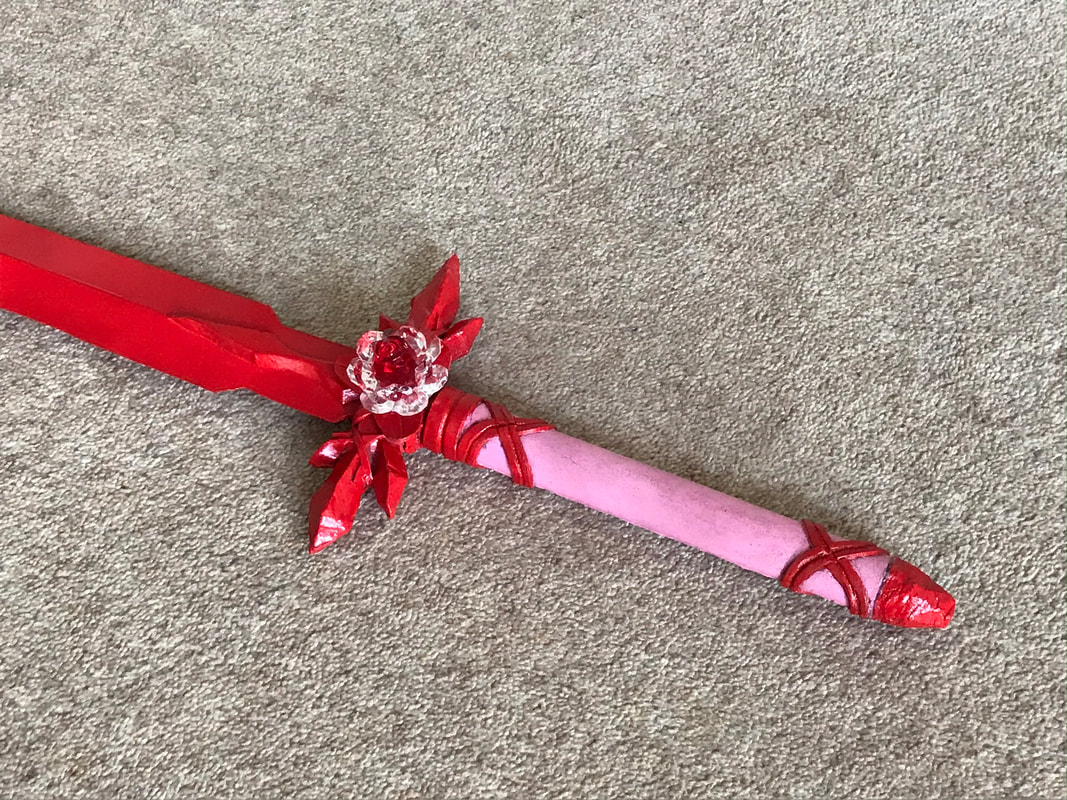
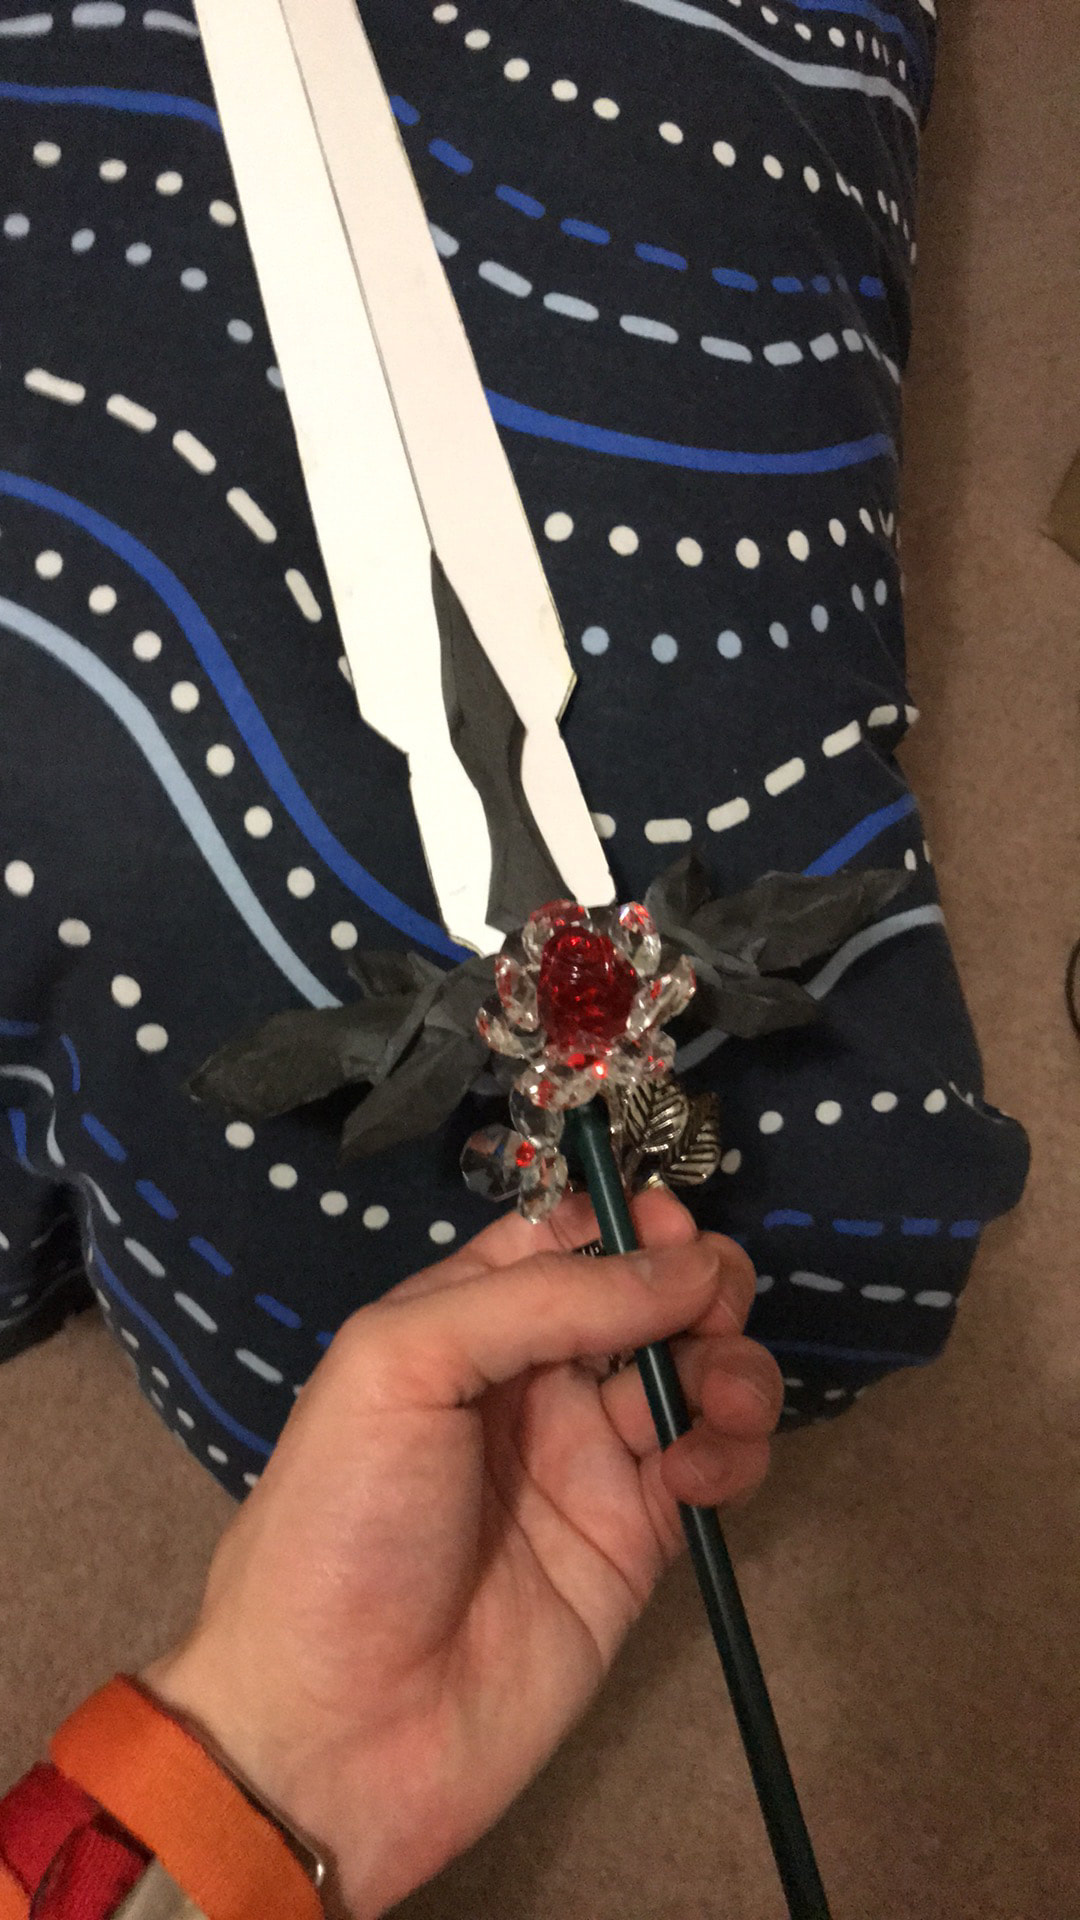
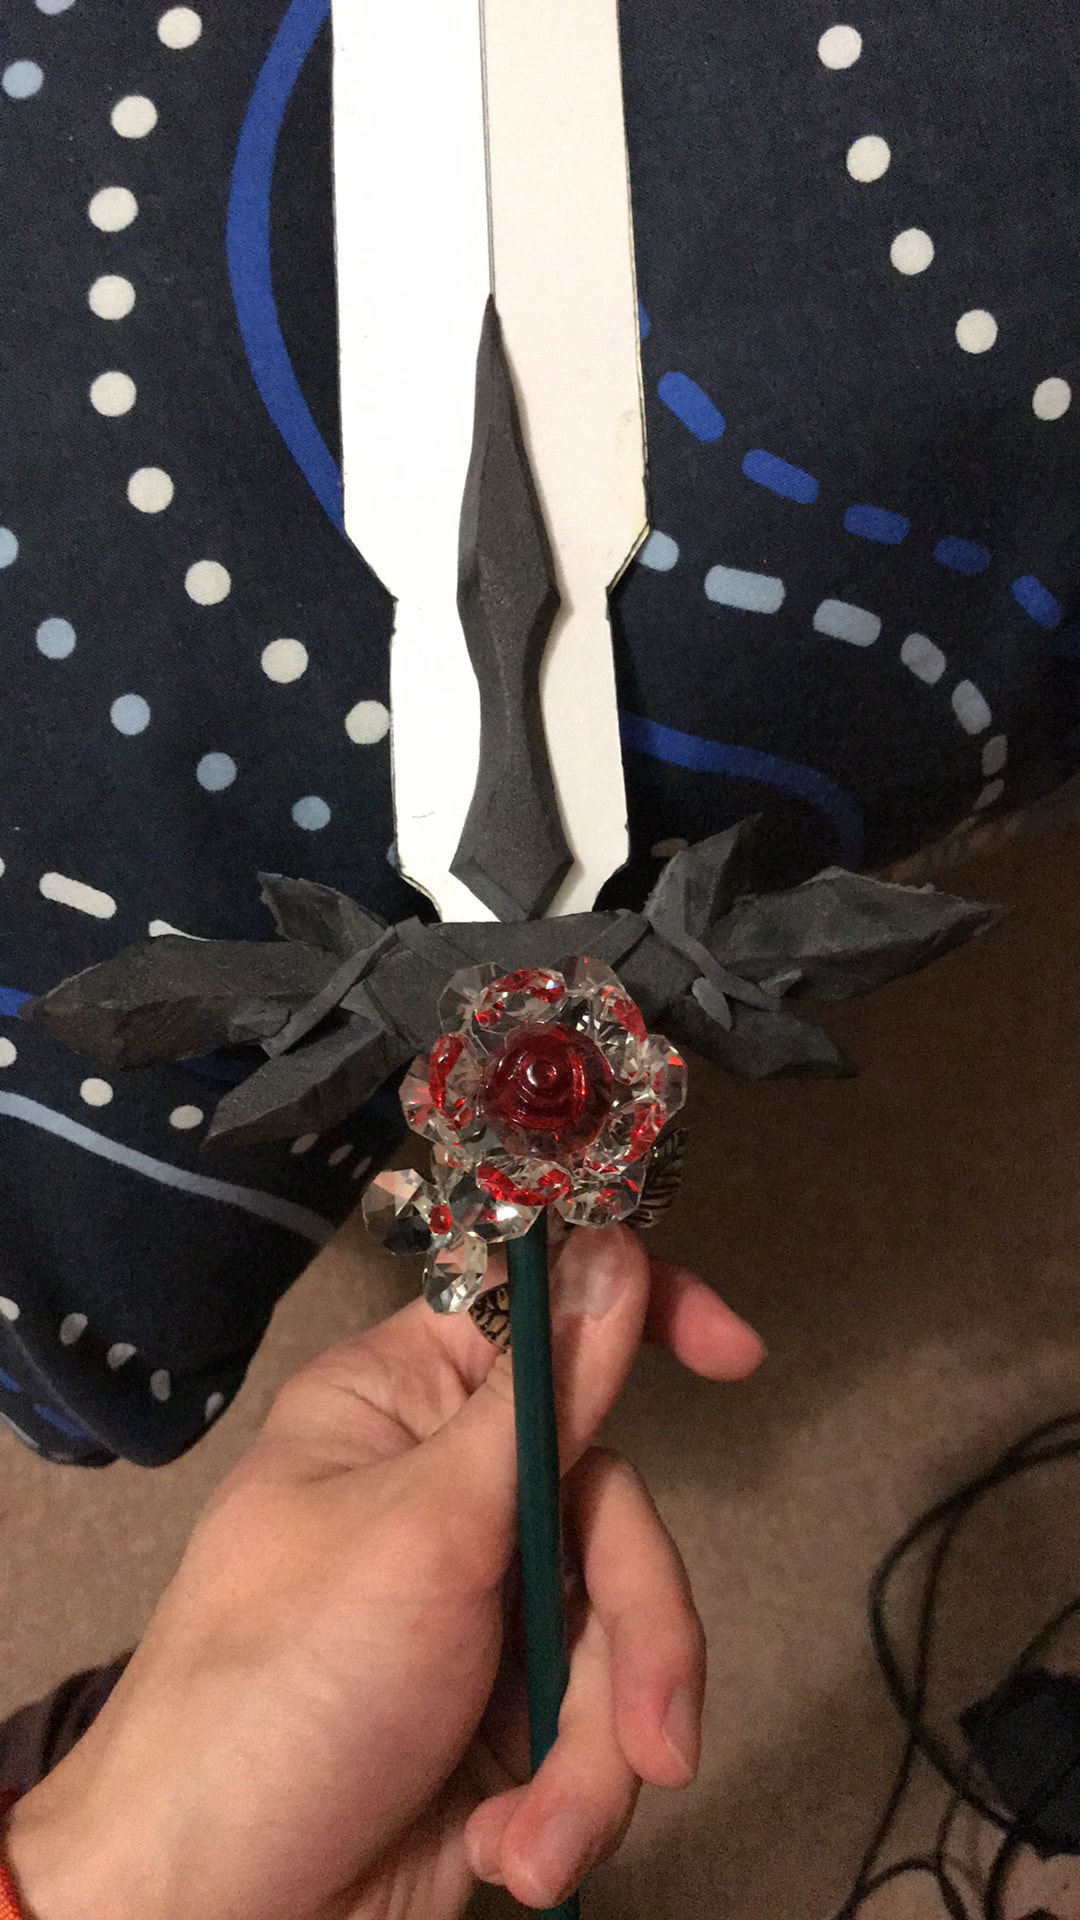
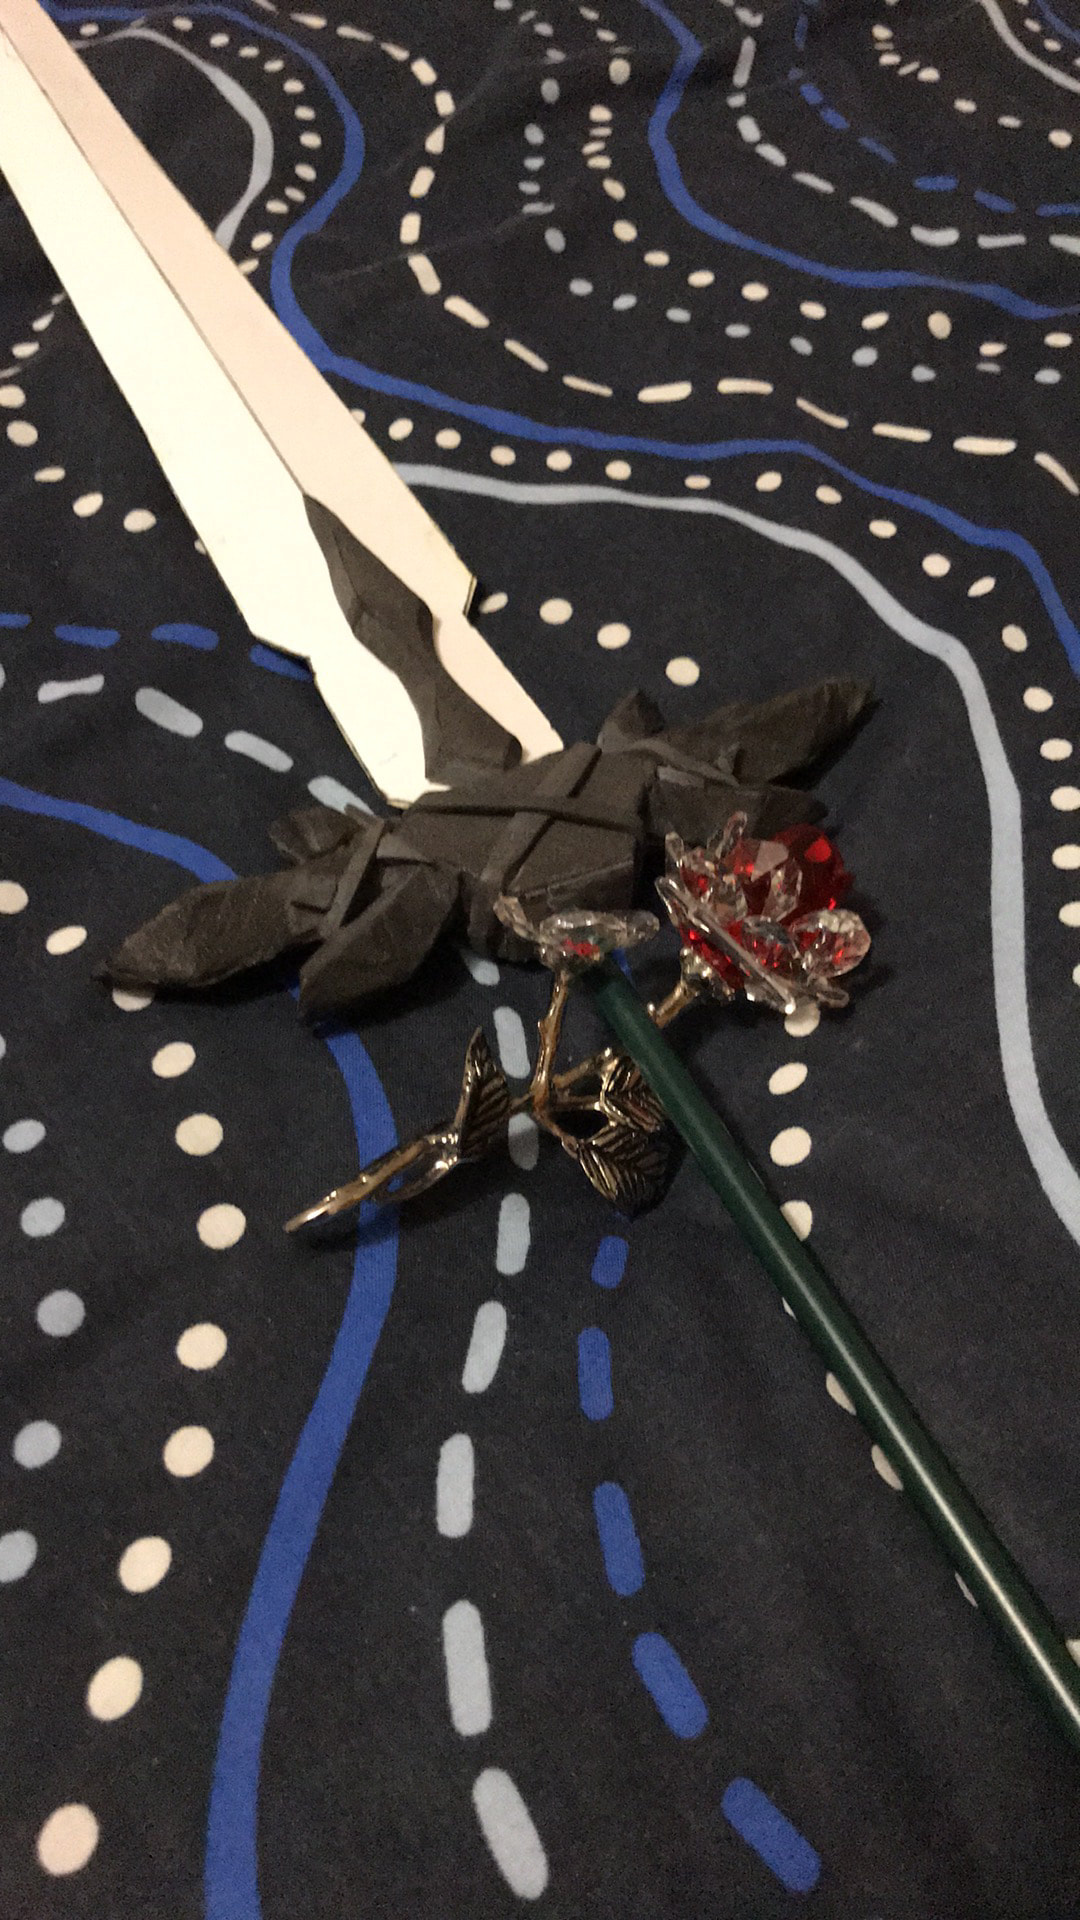
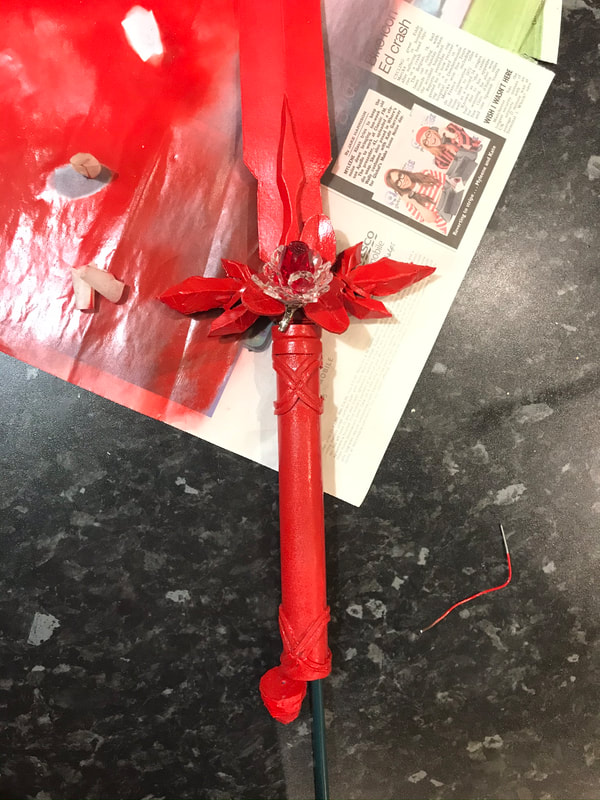
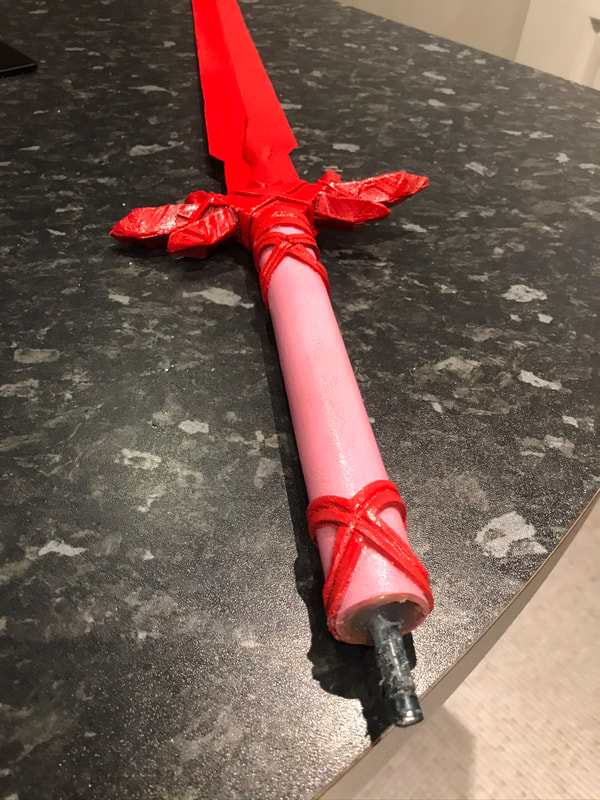
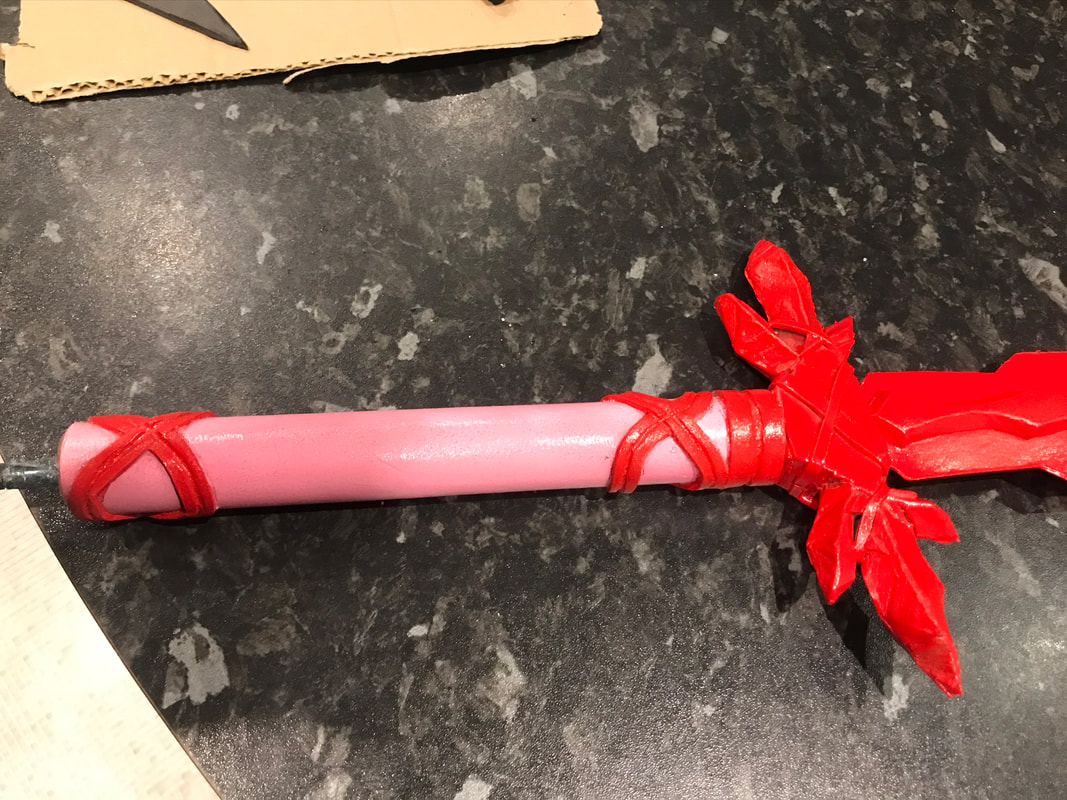
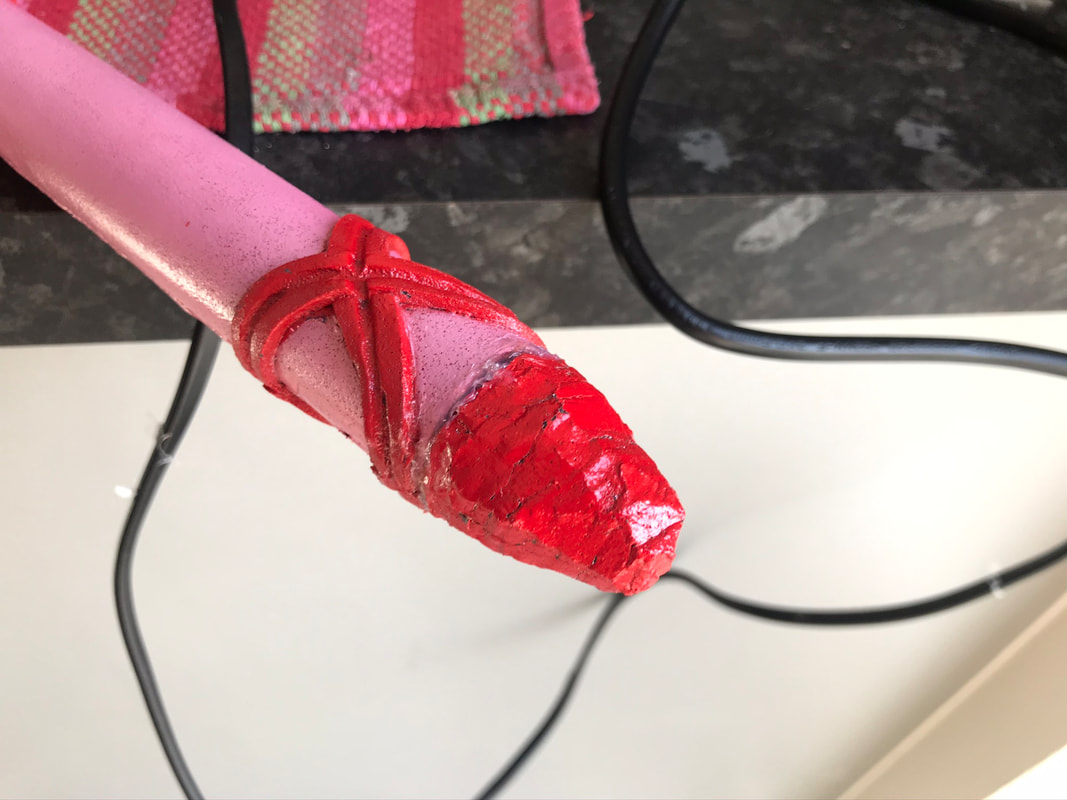
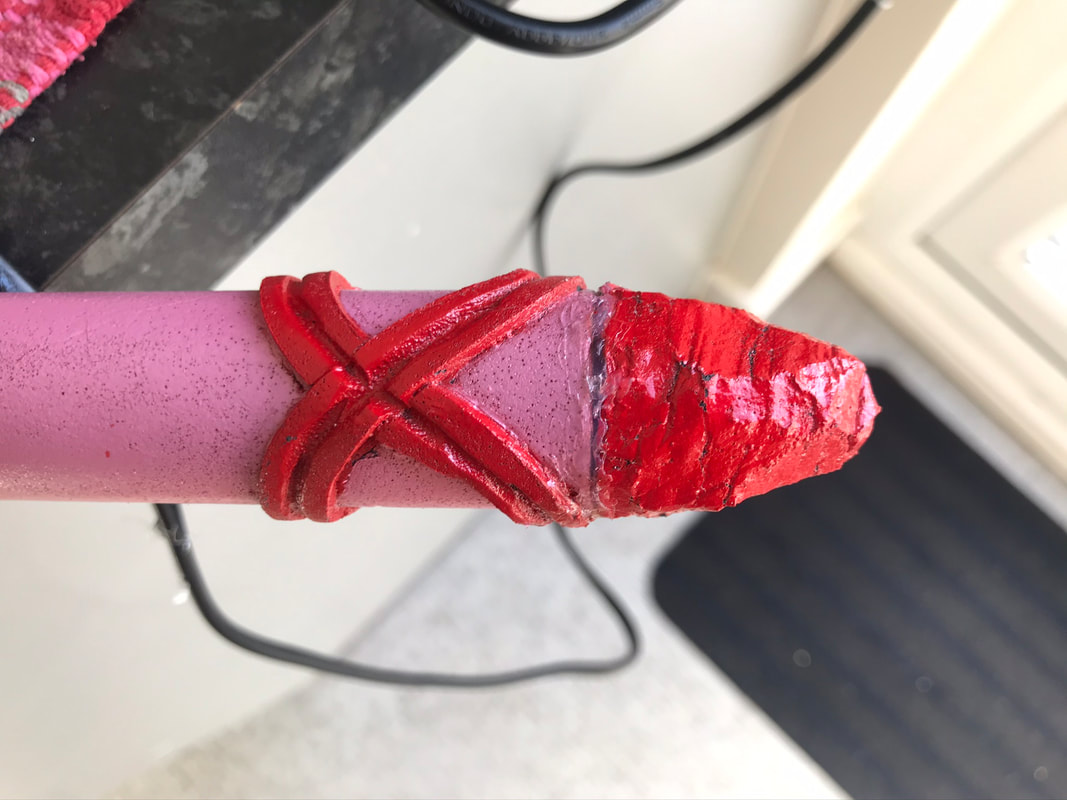
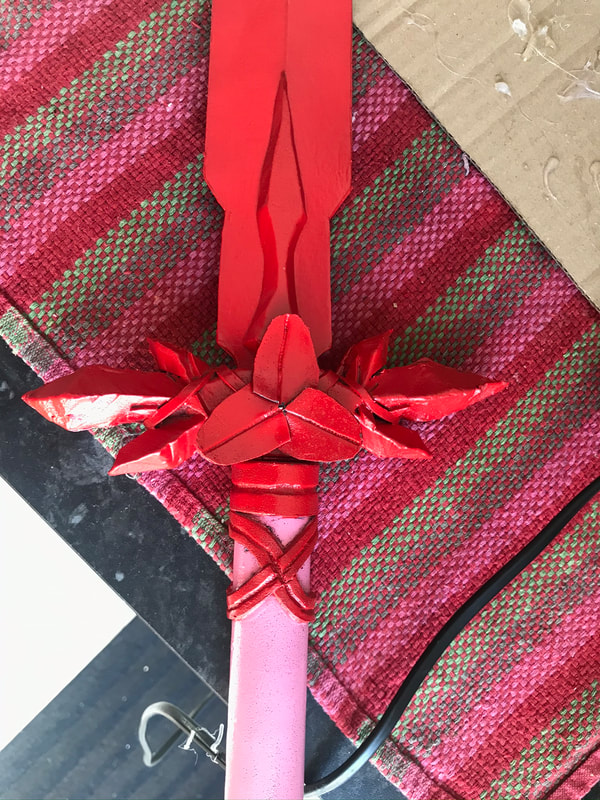
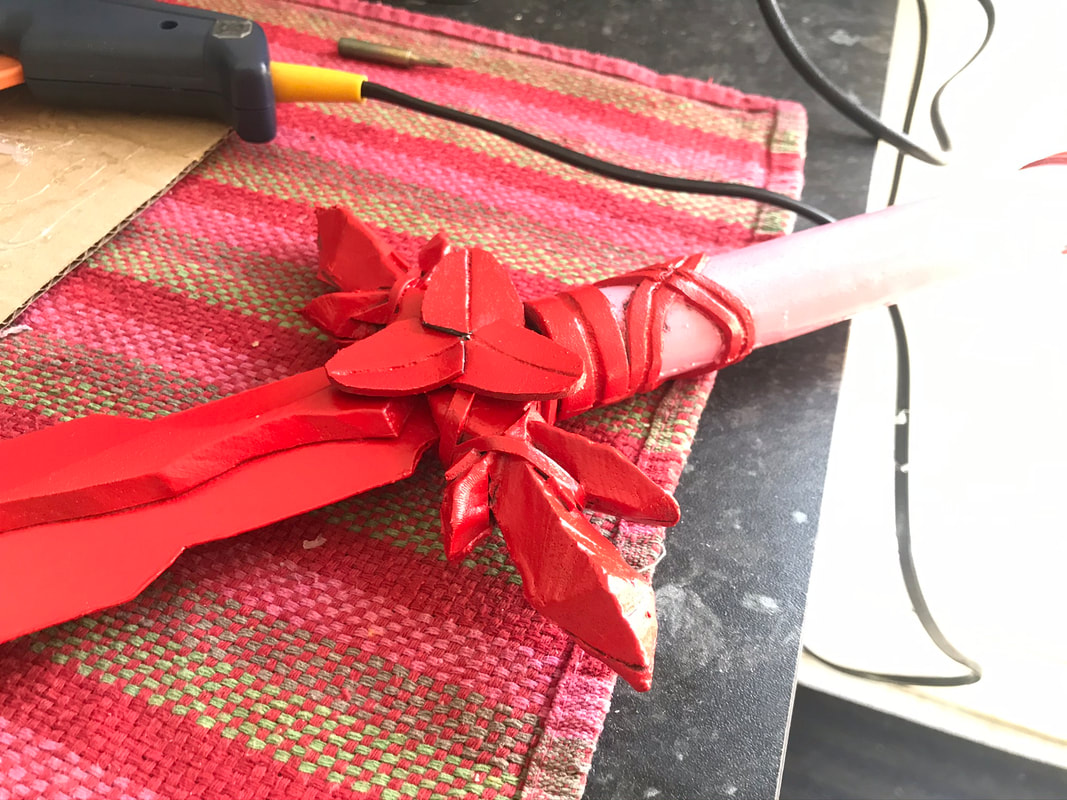
Red Rose Sword
360-spin Video: |
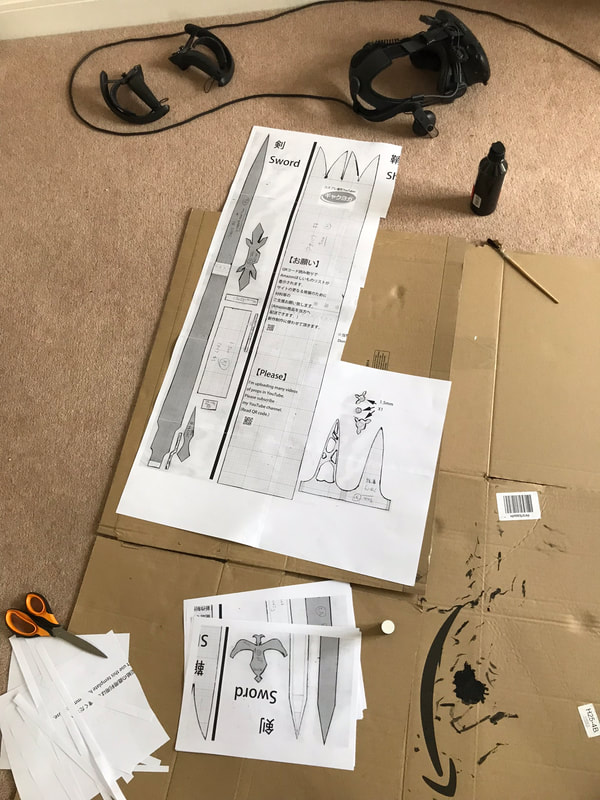
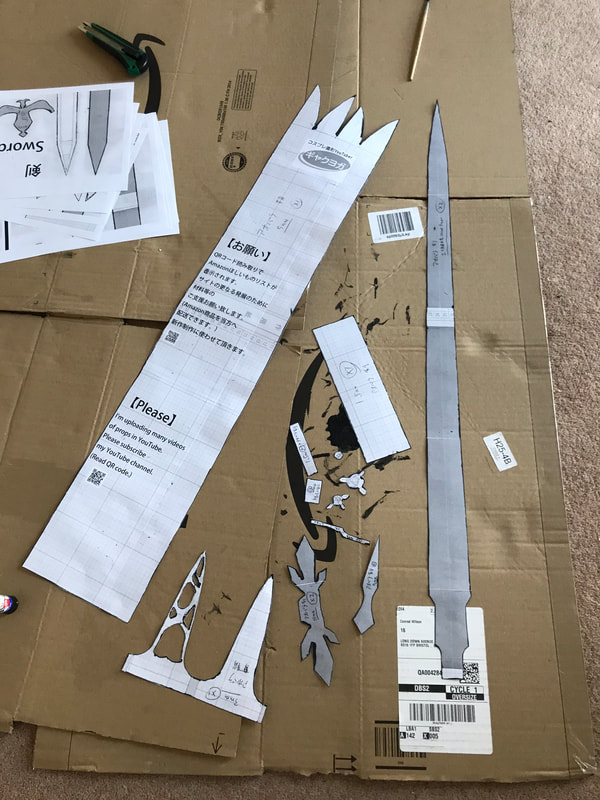
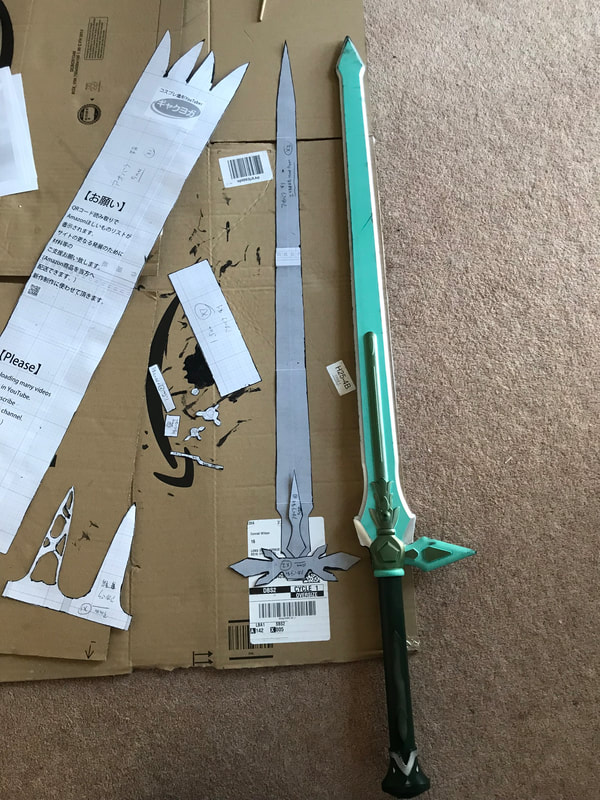
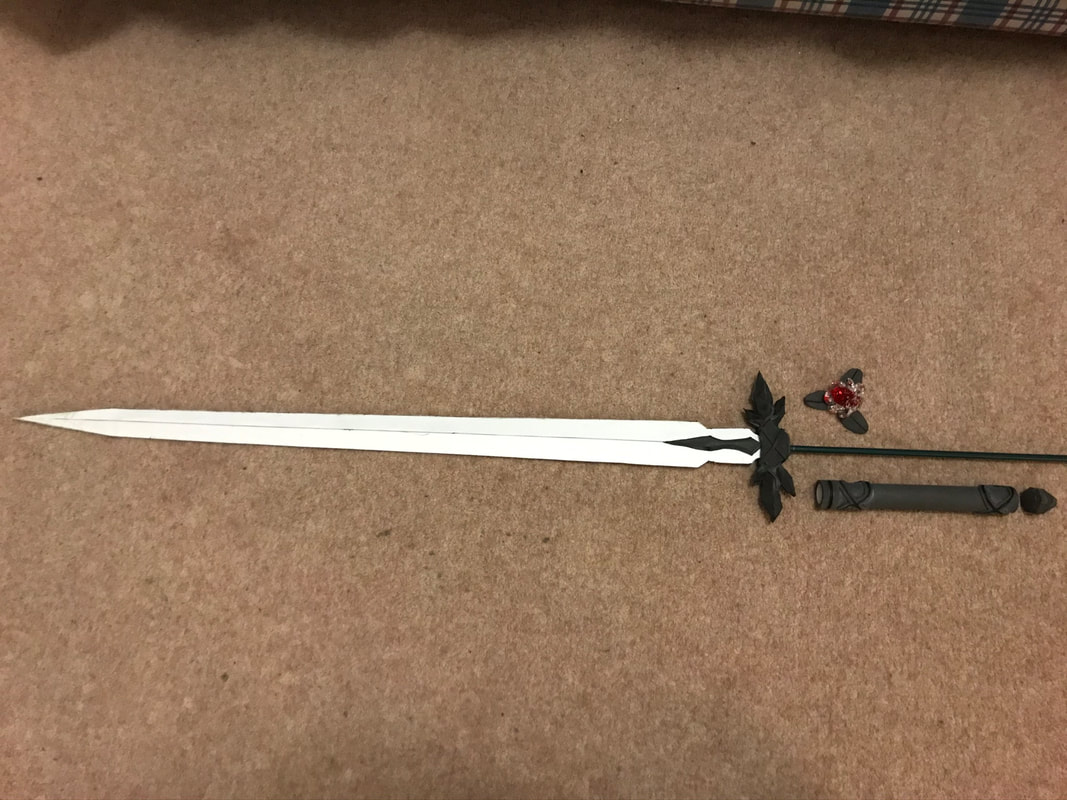
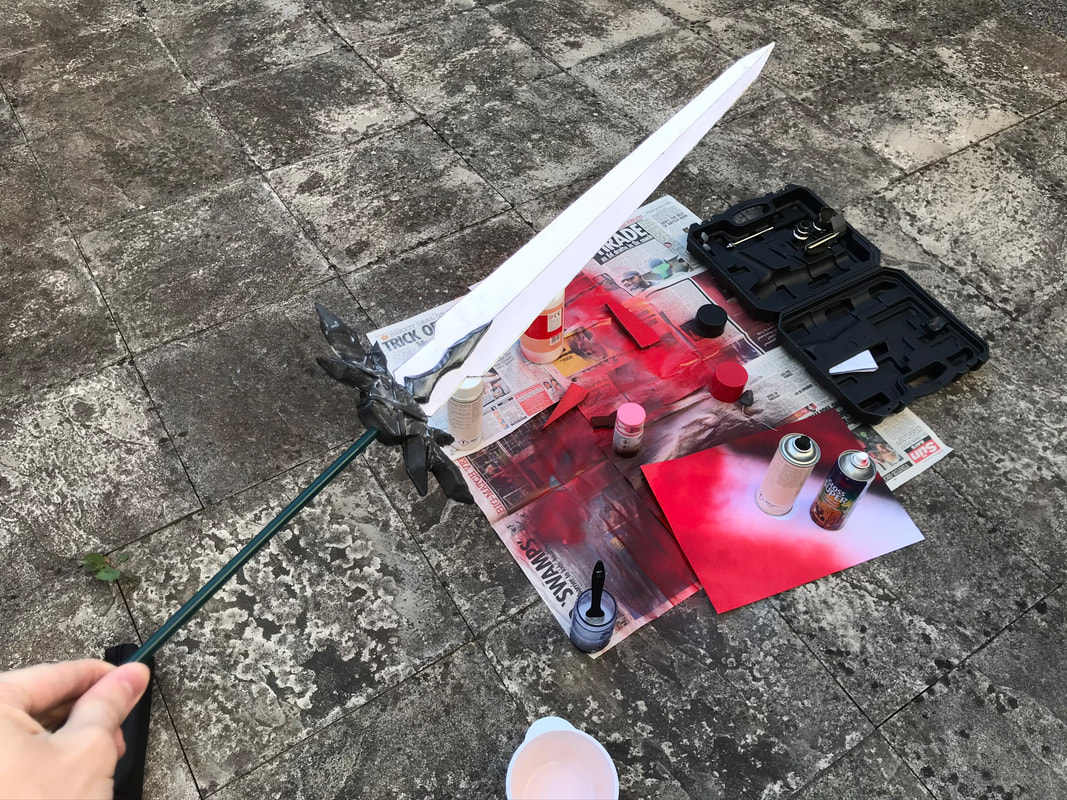
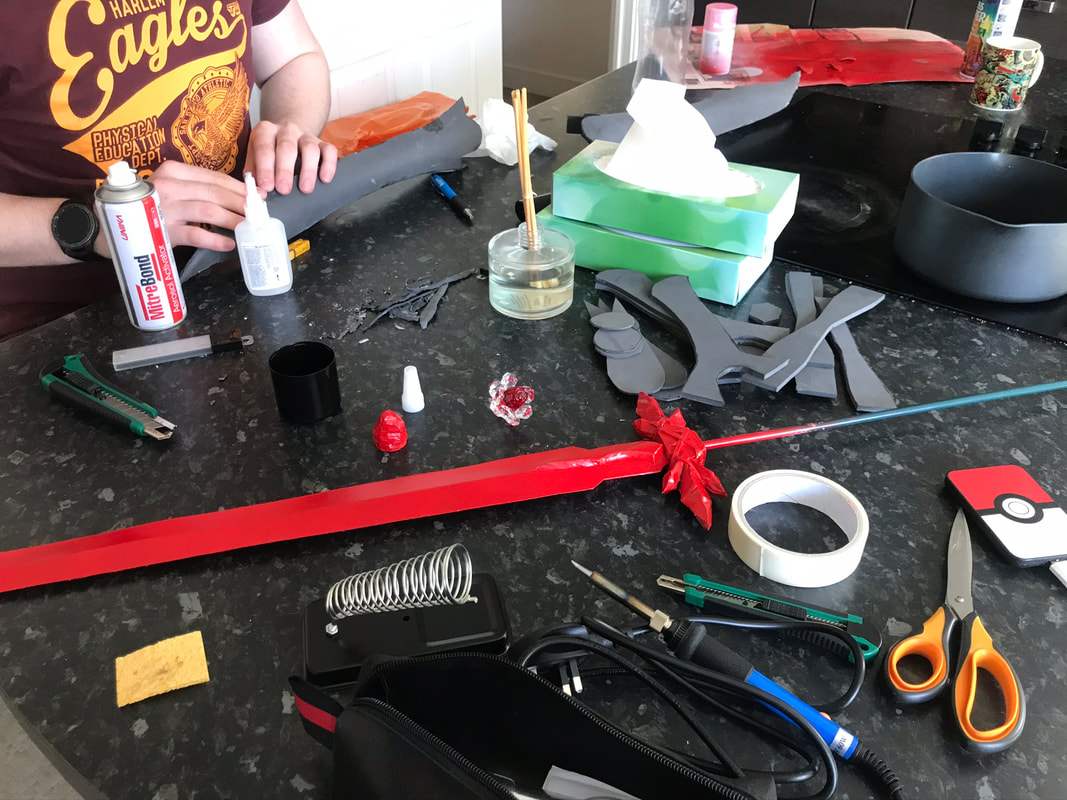
Materials And Build Process:The most custom-made sword I have made yet!
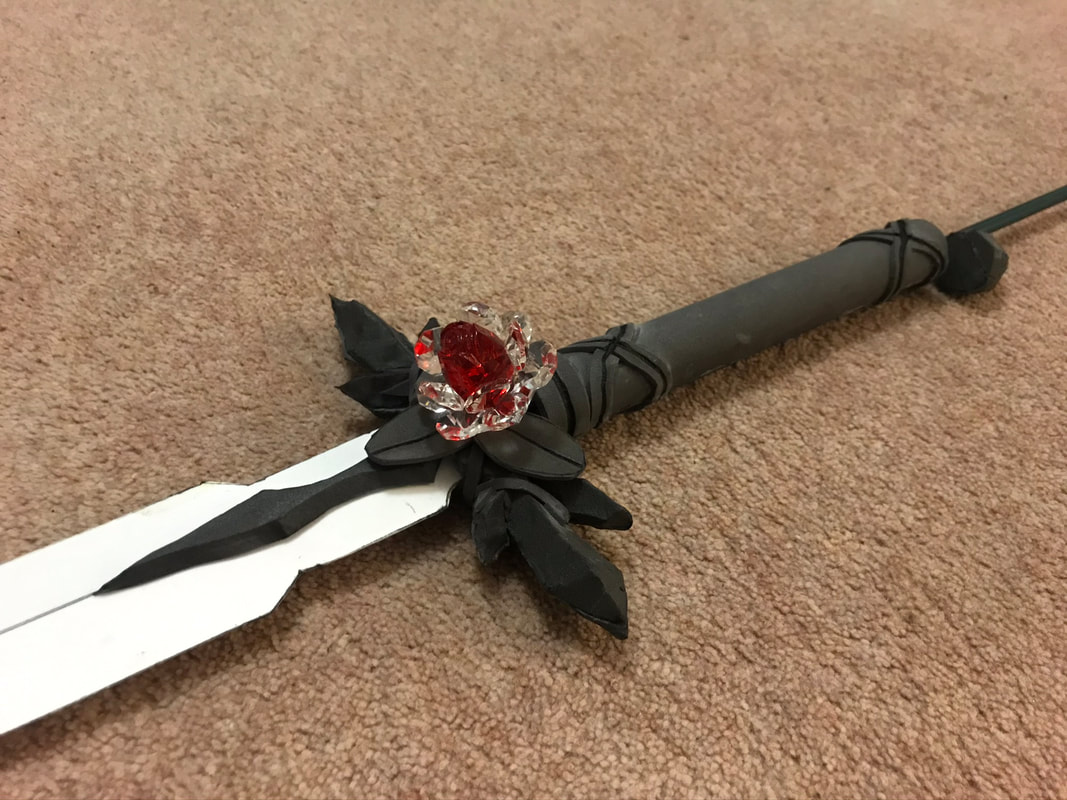
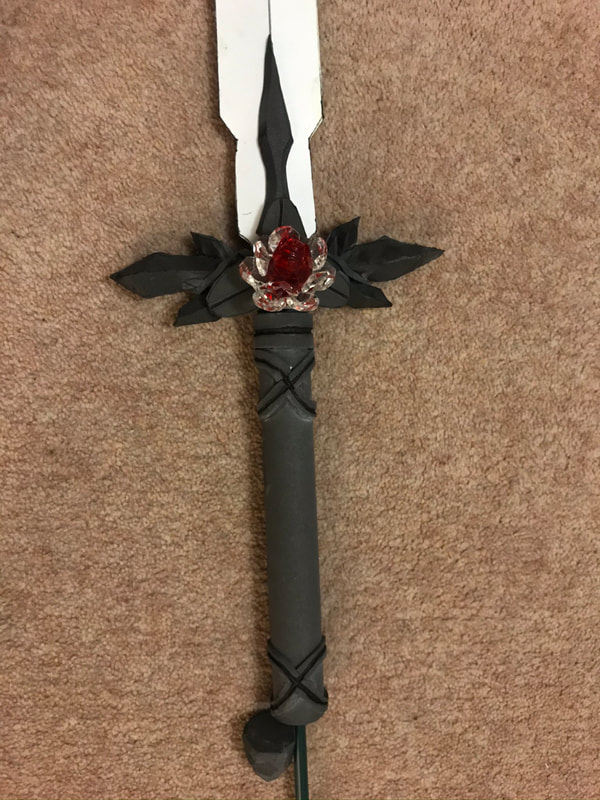
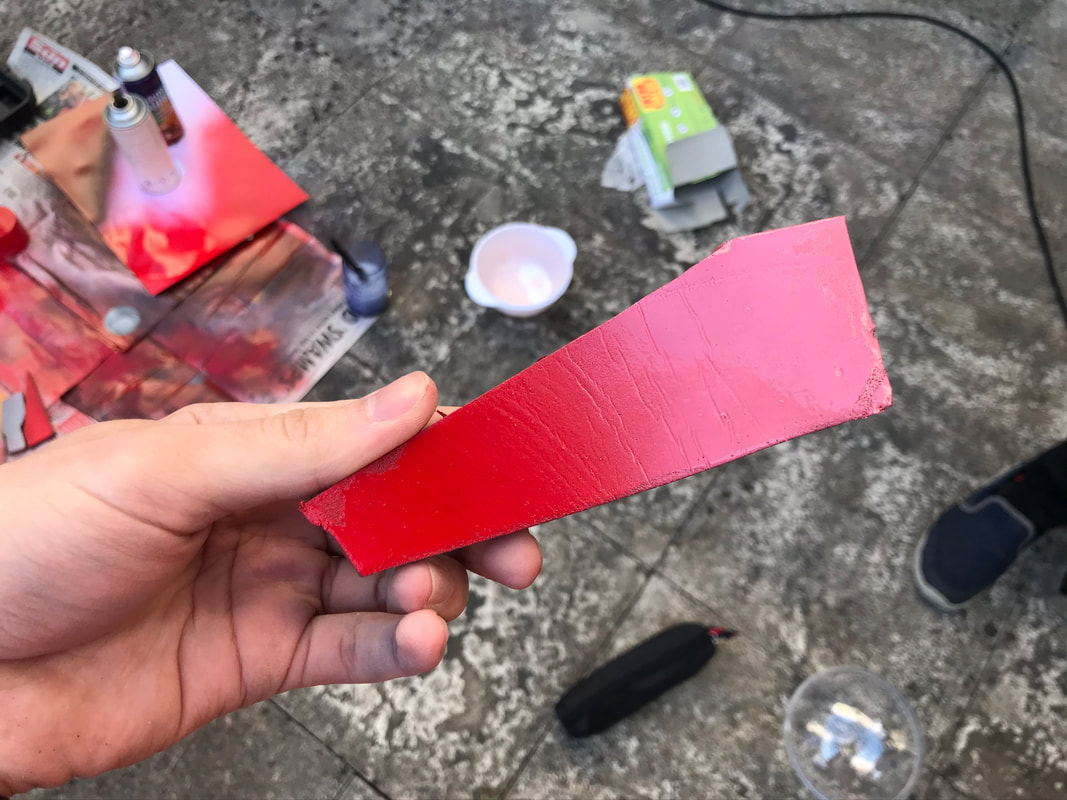
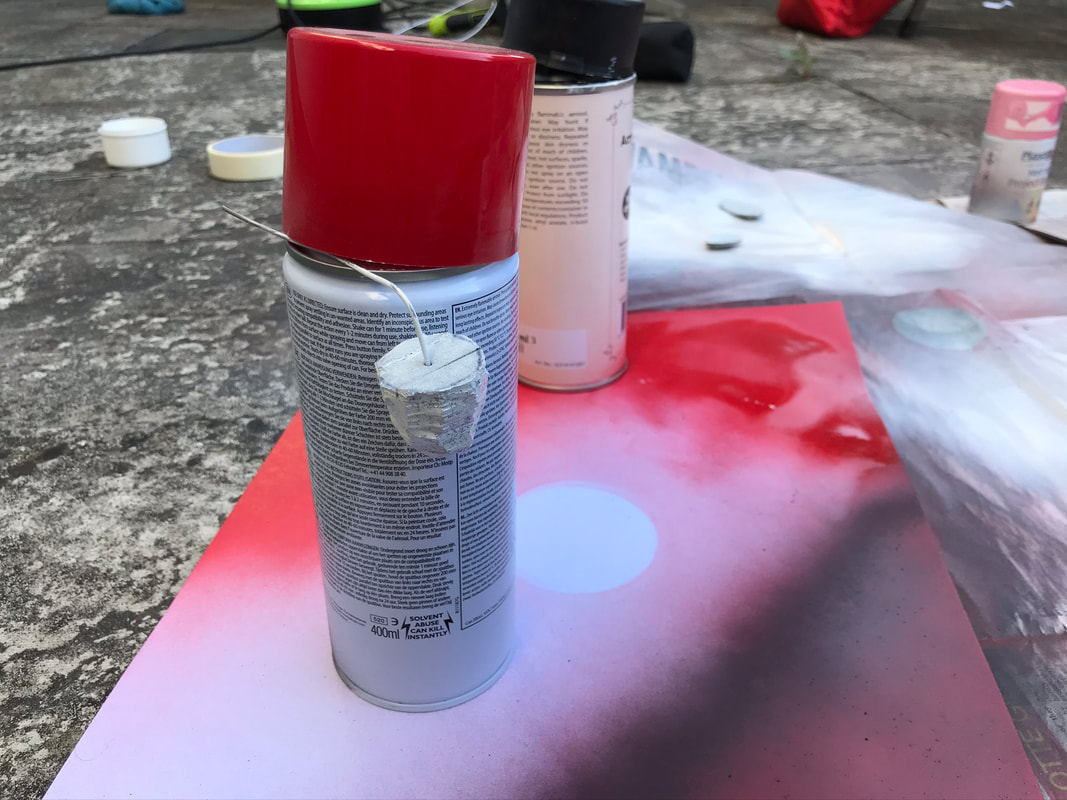
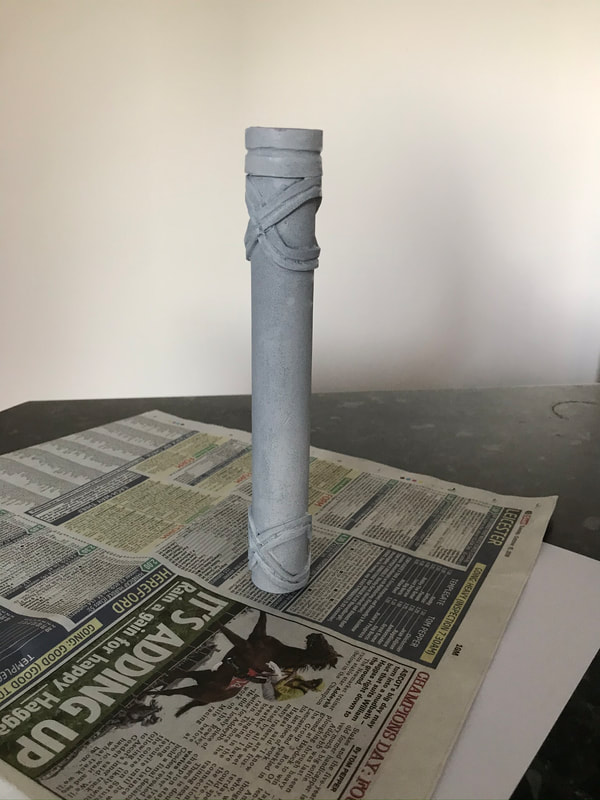
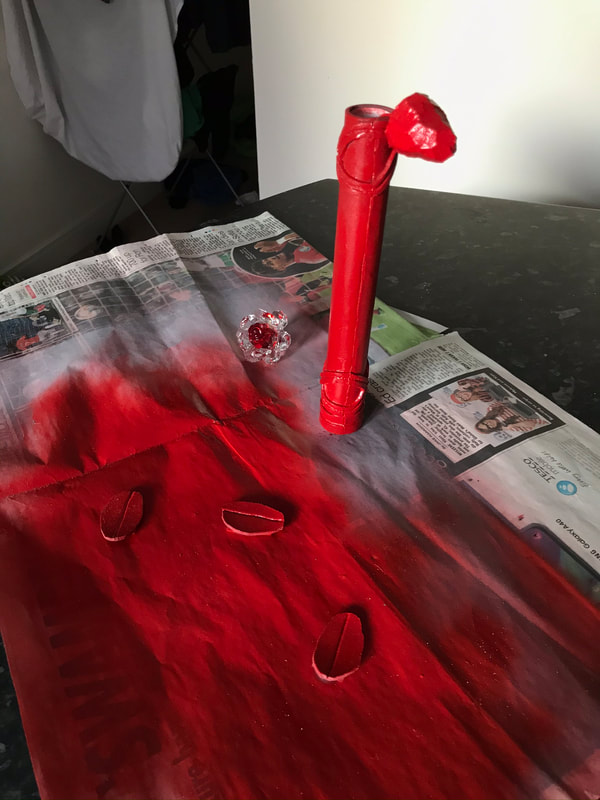
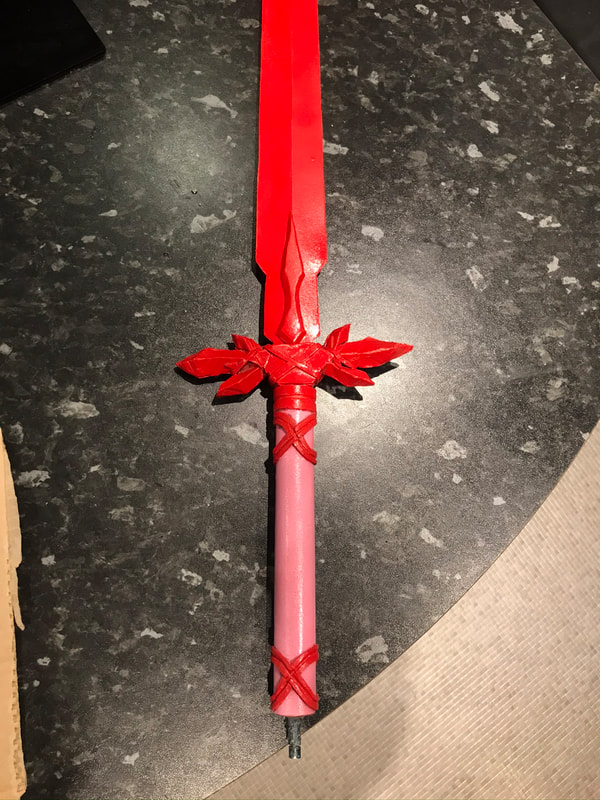
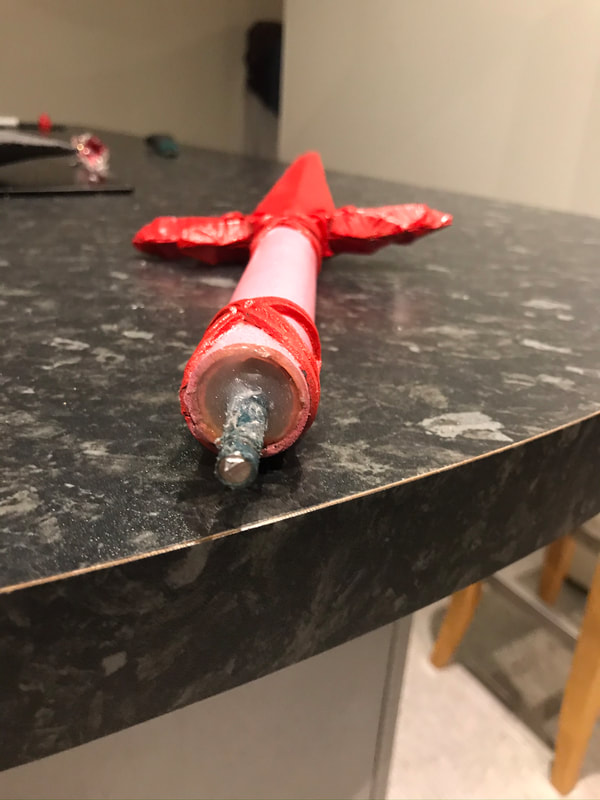
Using a metal rod that acts as a core to the blade, it runs from just below the tip of the blade to the pommel of the sword. The blade is made up of cut and scored card paper that is glued together with wood glue for slick sharp edges. The guard, guard decorations, and pommel are all made of craft foam. I used PVC piping for the handle's base layer that wrapped it in foam and decorated it by scoring the foam with a hot soldering iron. The rose decoration is made of jewels of a plastic 'glass-like' material, all layered and glued together. For the colour, I first painted everything in PVA glue and let that dry. Next, I used a white primer paint, let it dry and following with the red paint, both applied via spray paint cans. For the pink handle colour, I wrapped the cross sections in masking tape and used a cutting knife to cut straight lines between the covered and to be painted areas. After a final pink spray paint coating, dry section and removal of the masking tape it was time to glue everything together. I fitted a base aligning foam circle to slot the handle centrally onto the guard, then poured in hot glue to fill up the gap and create a strong bond. The core metal rod was cut down to size and just went into the pommel slightly. I used a hot soldering iron to melt out holes for the pommel and the rose decoration's base spike to slot into. I finally glue on the remaining pommel, guard petals & guard rose pieces.
|


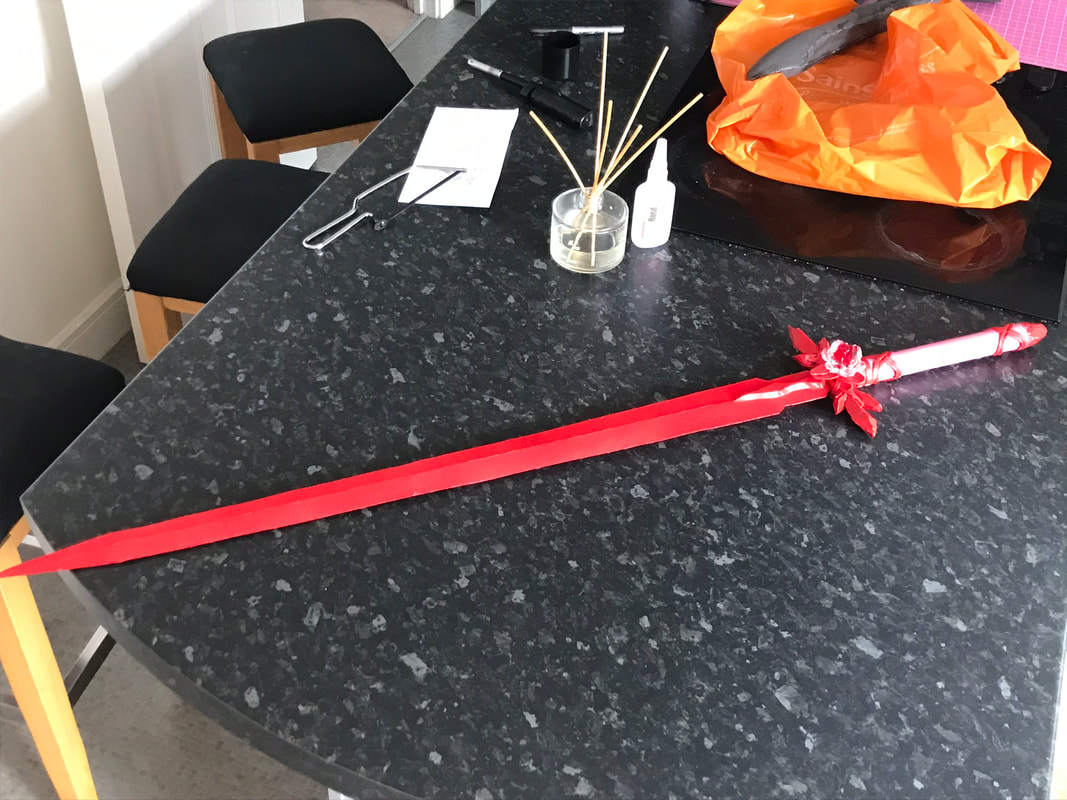


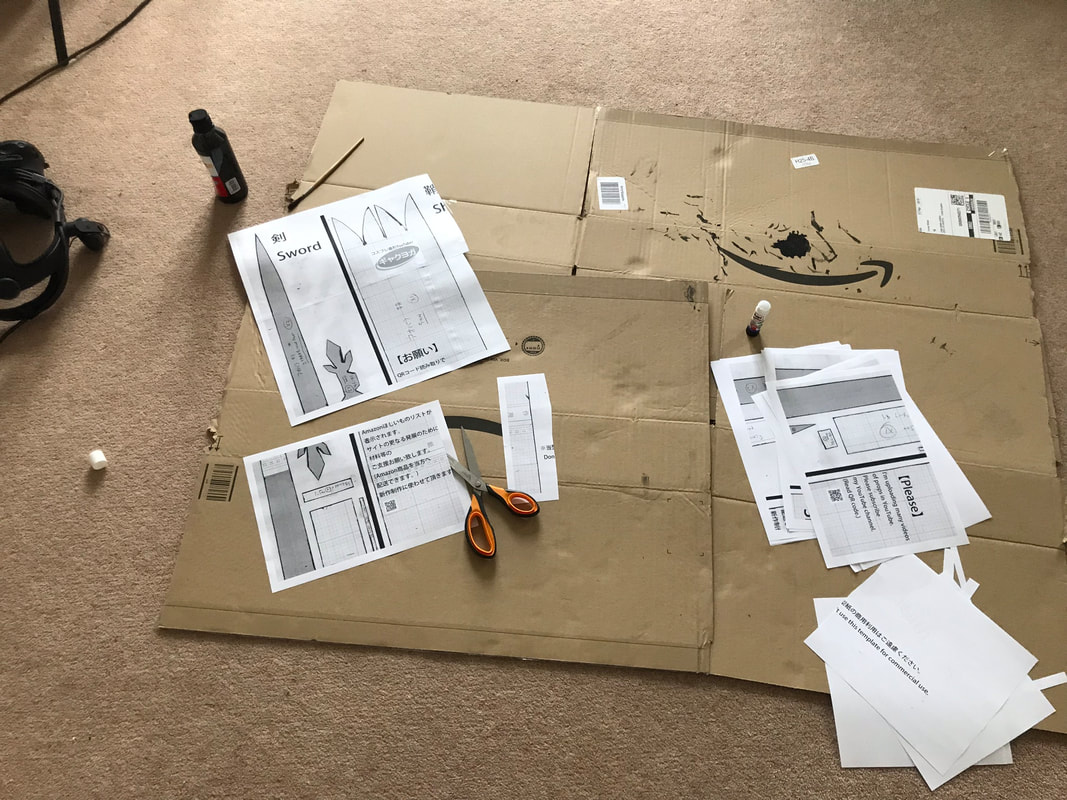
Production Gallery:

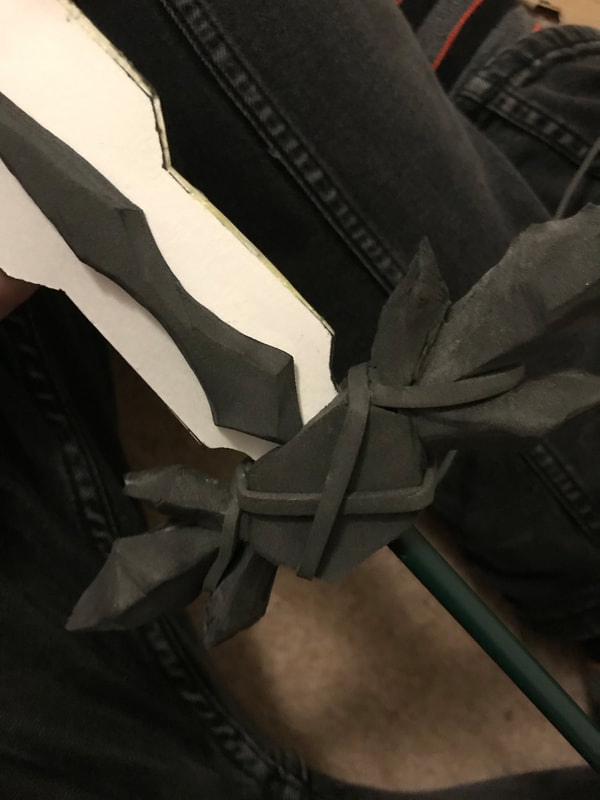
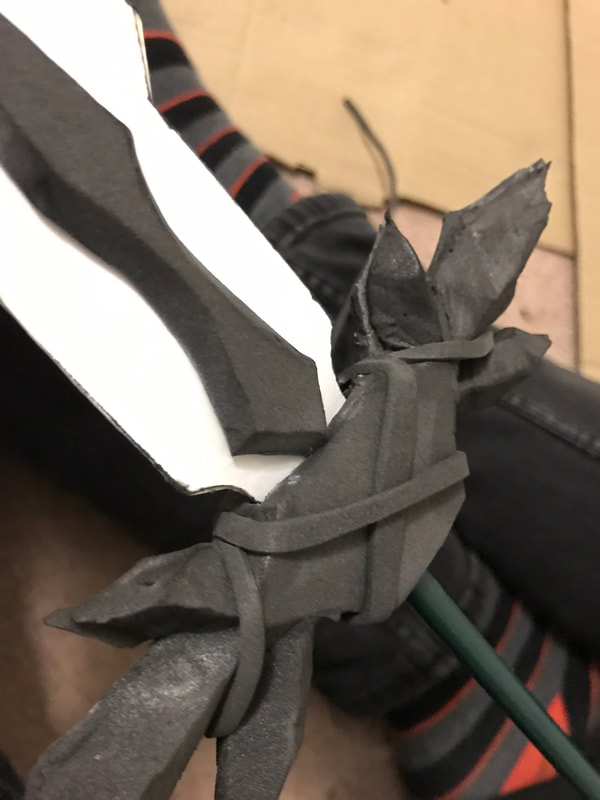
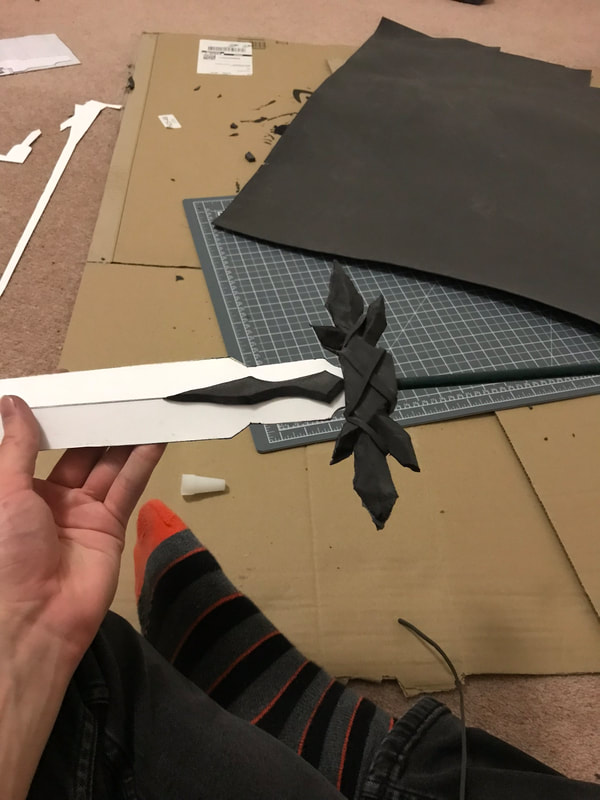
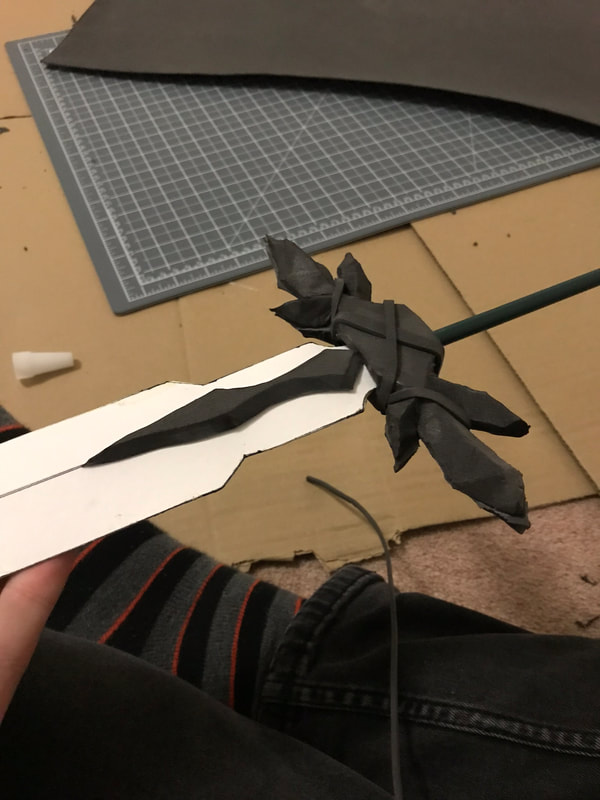
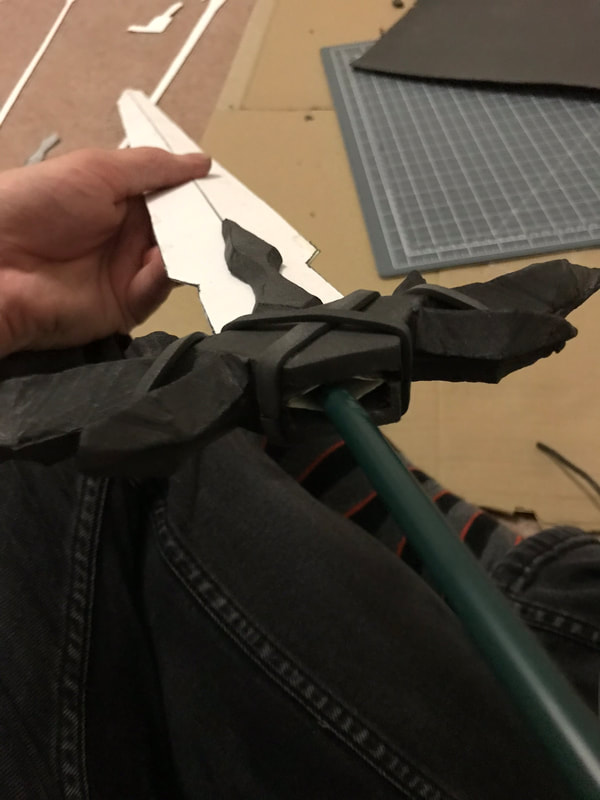
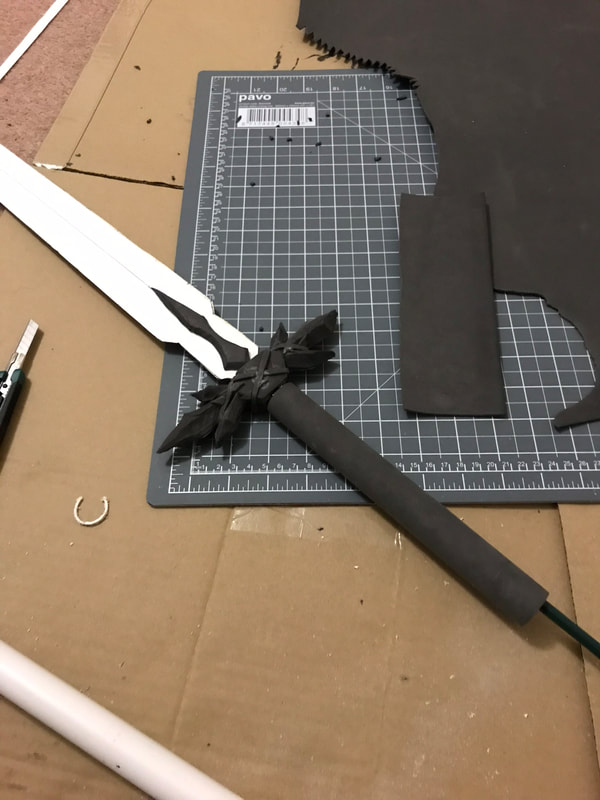
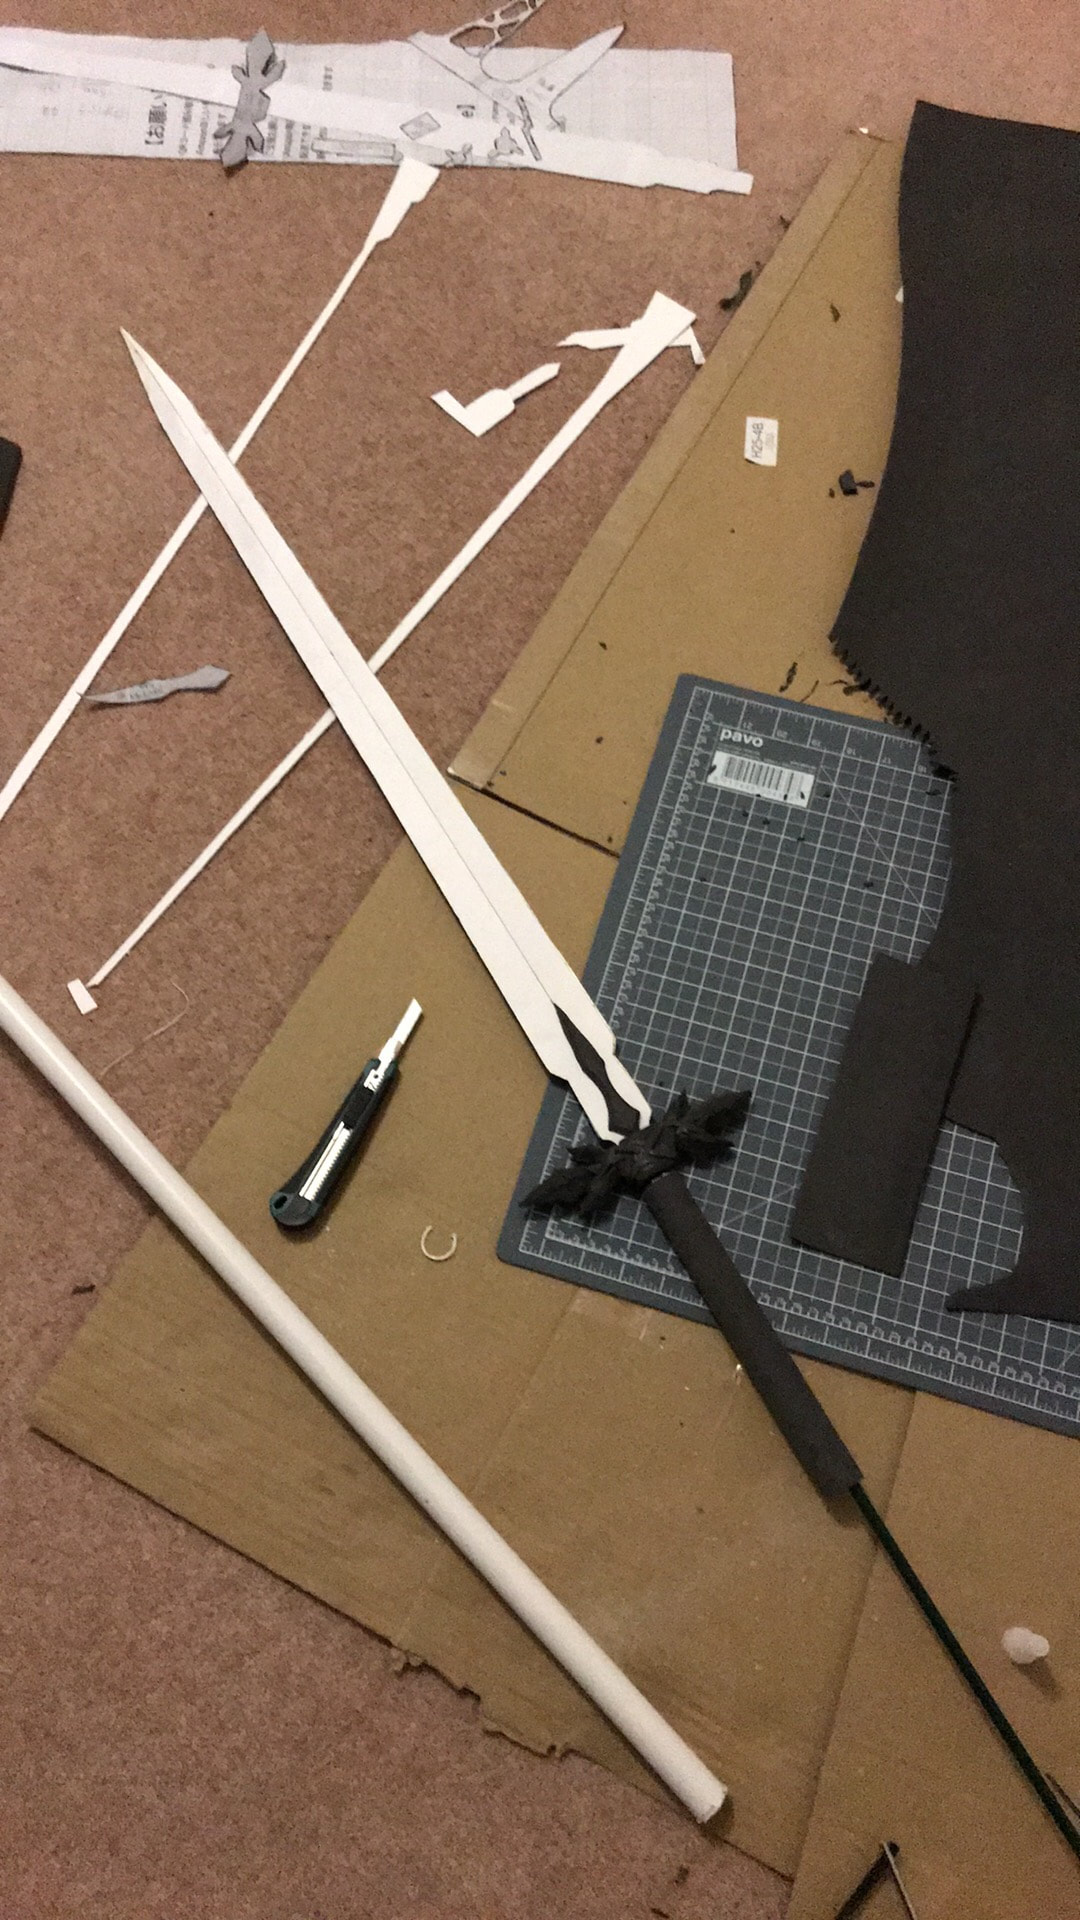
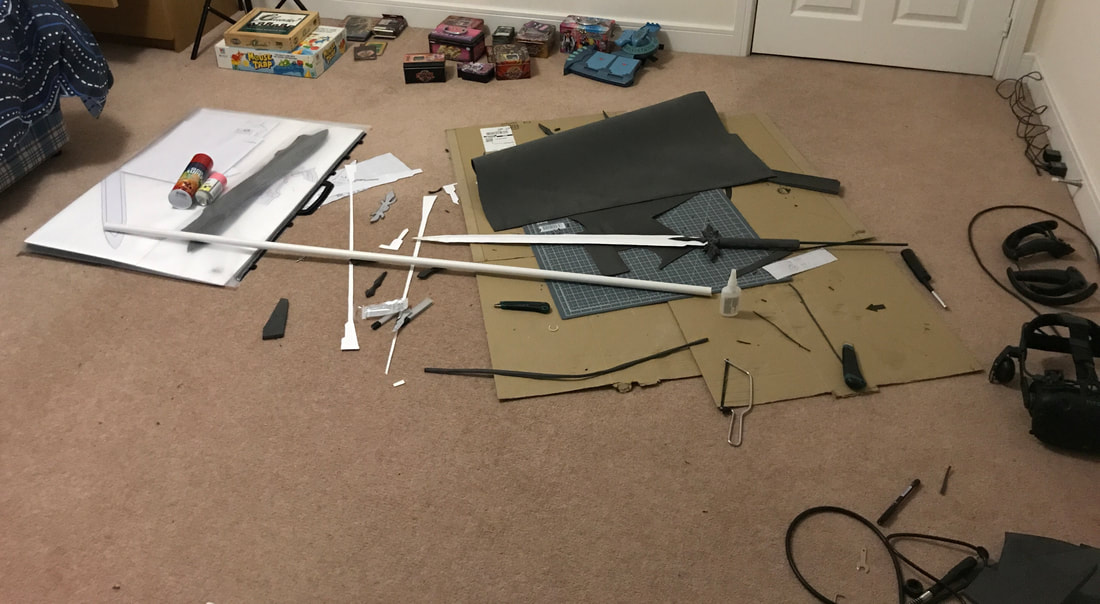


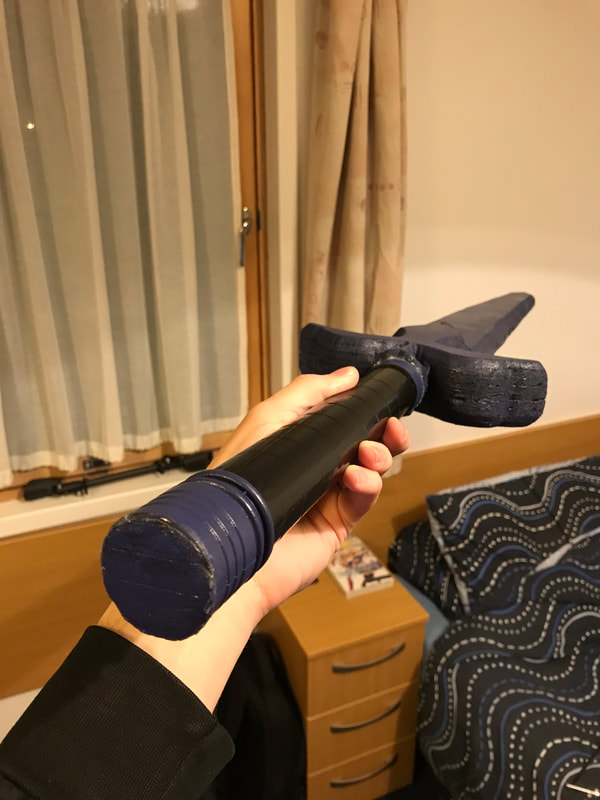
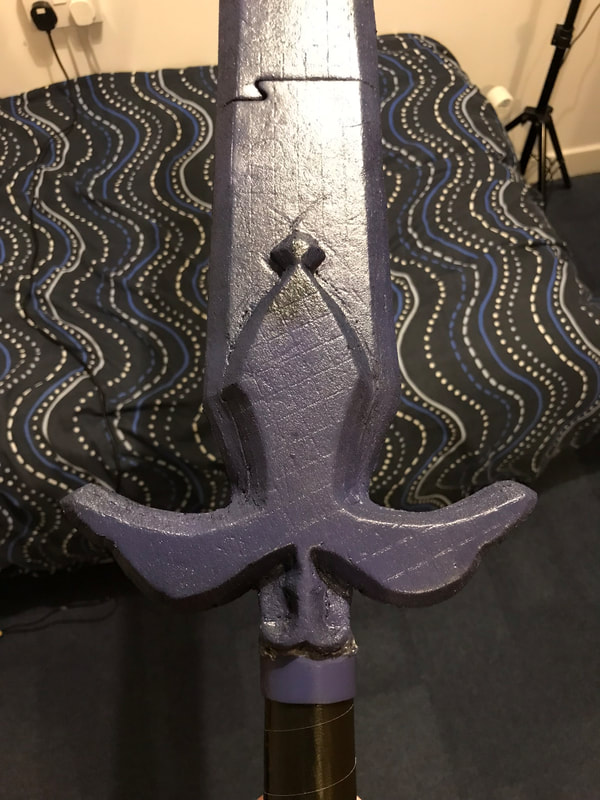
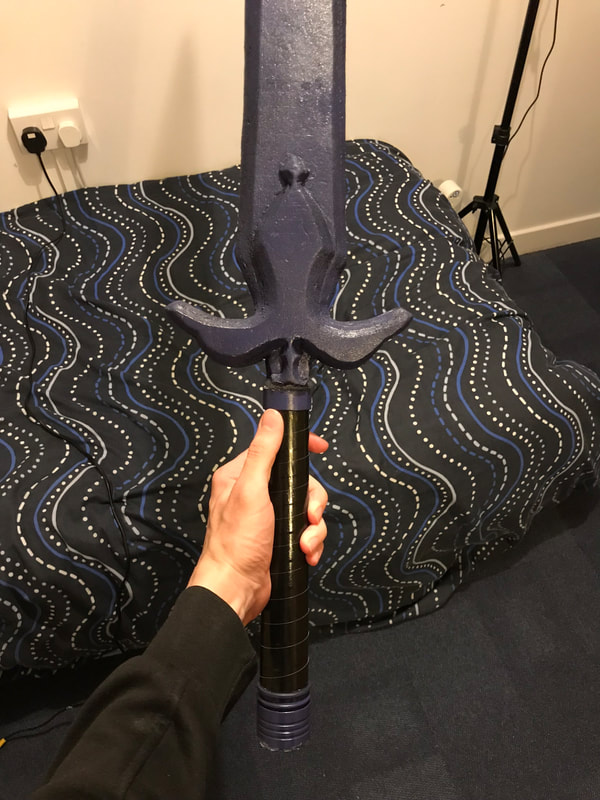
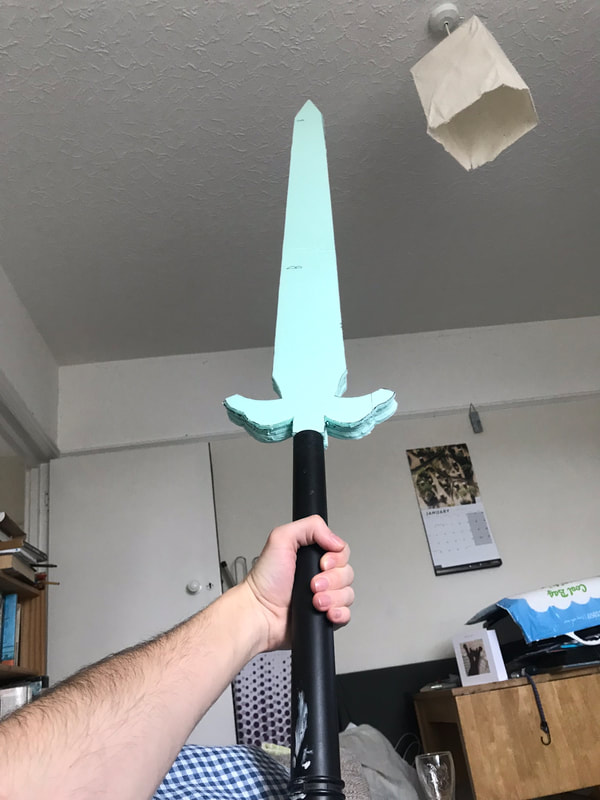
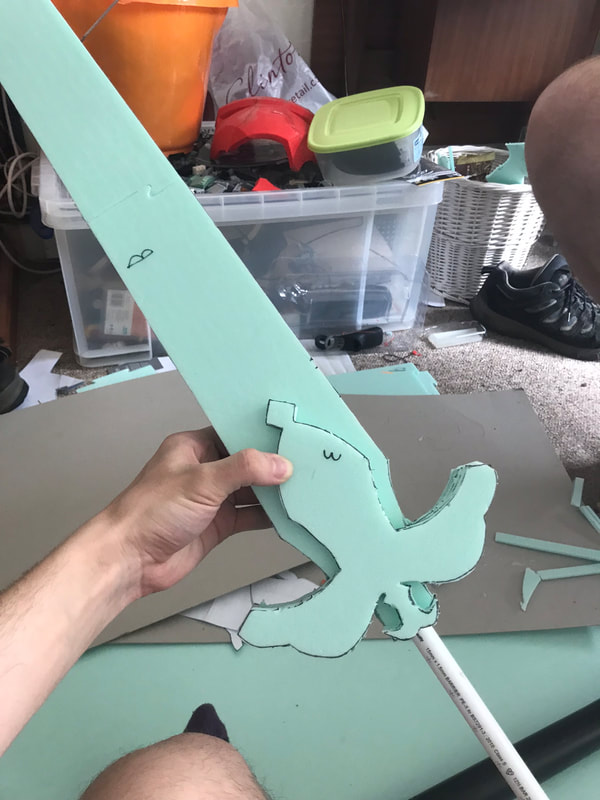
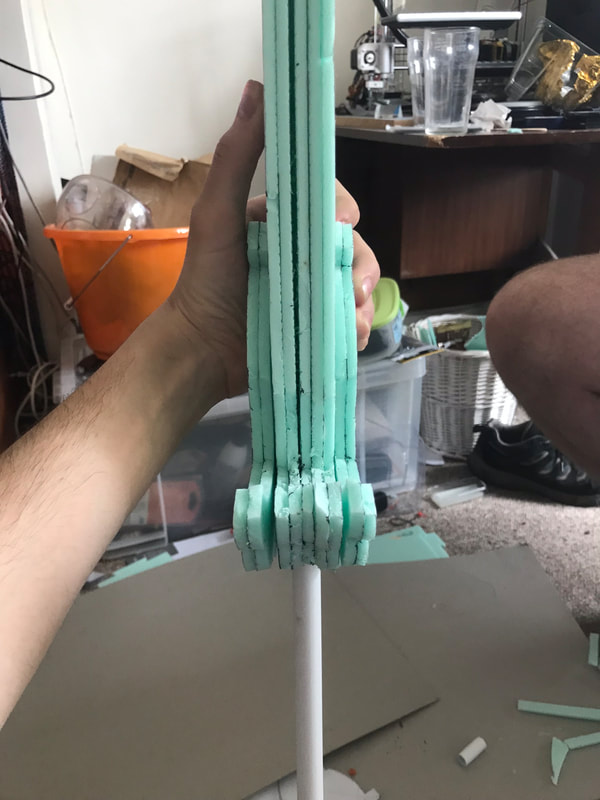
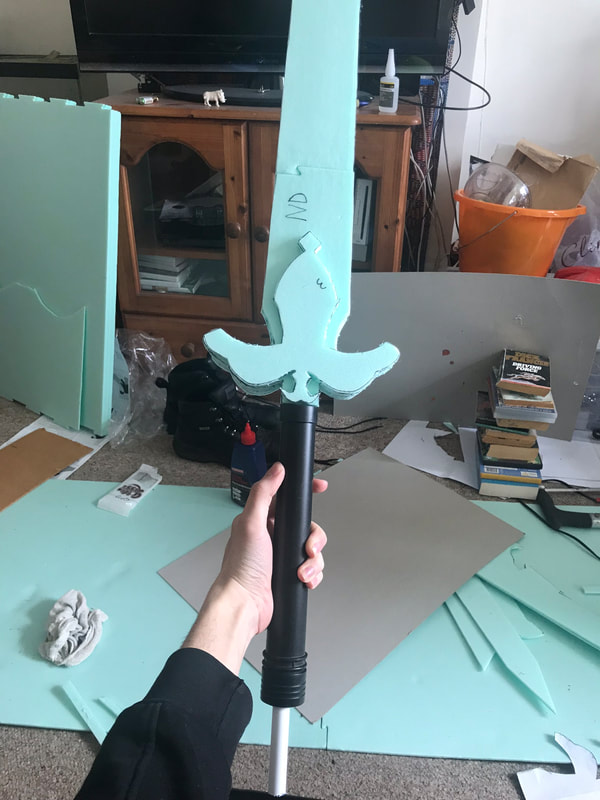
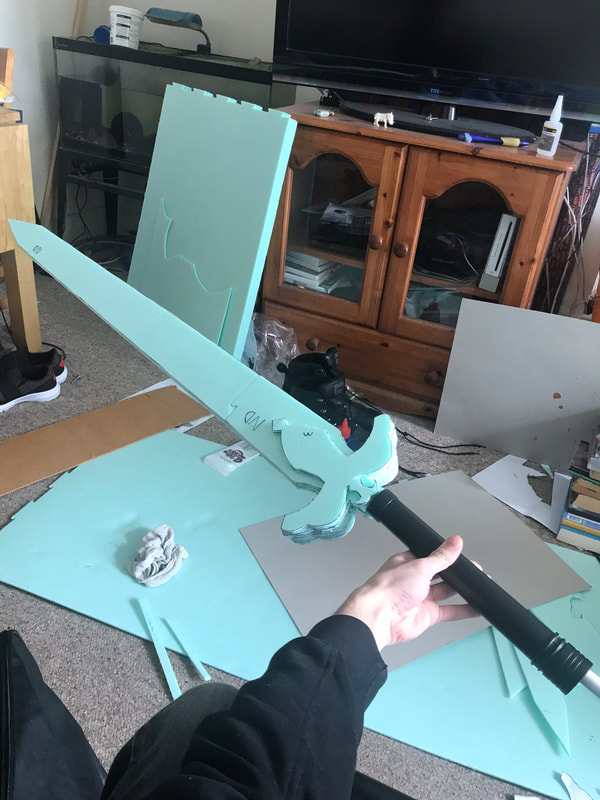
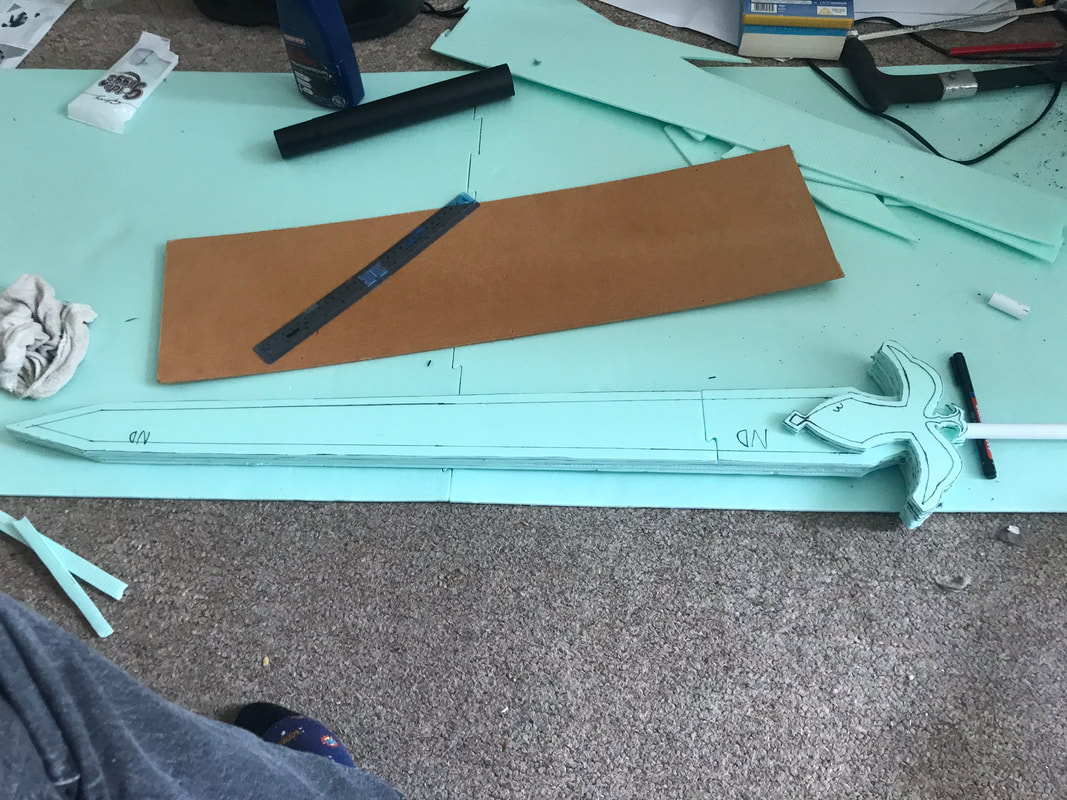
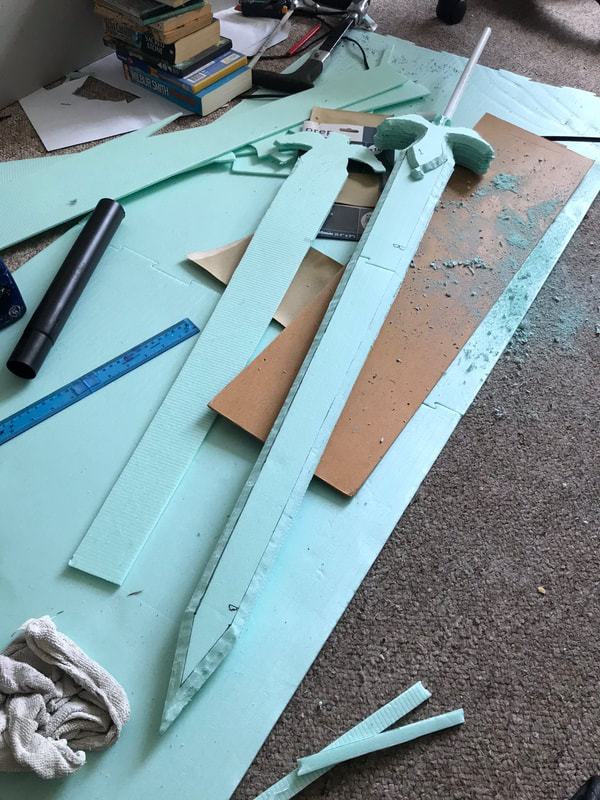
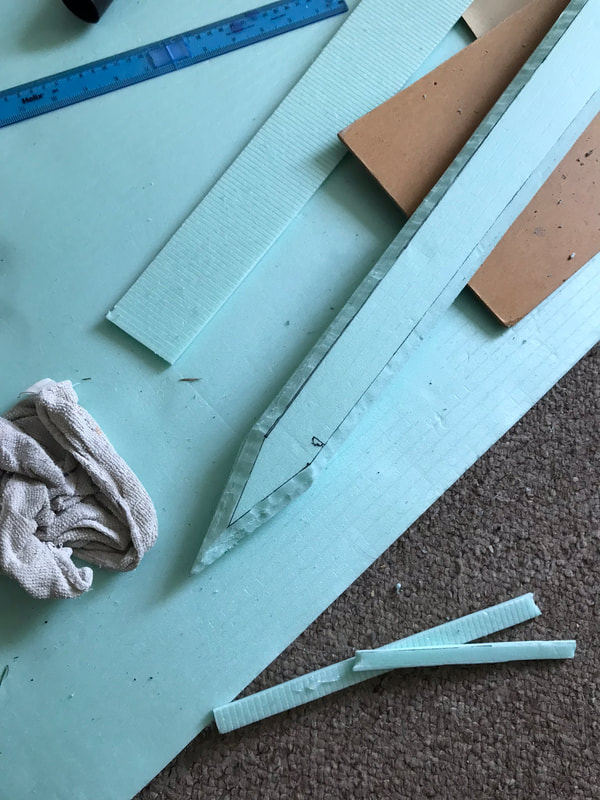
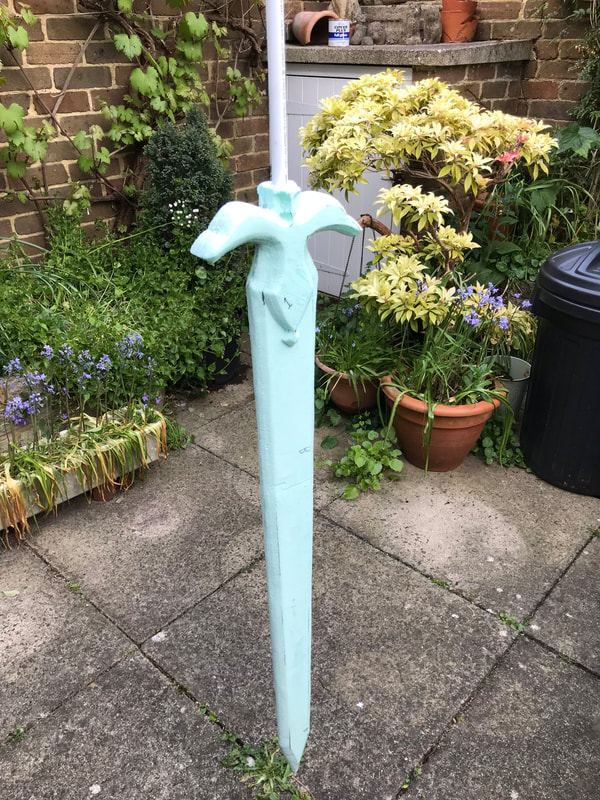
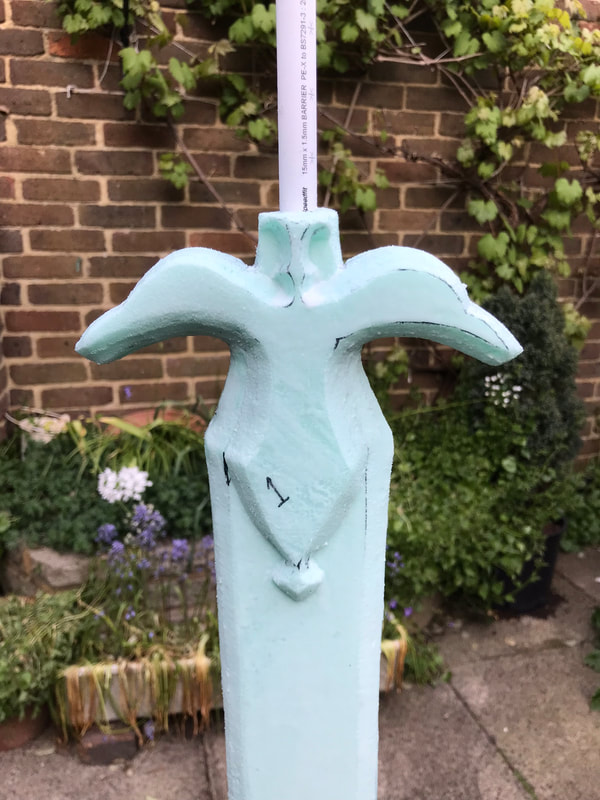
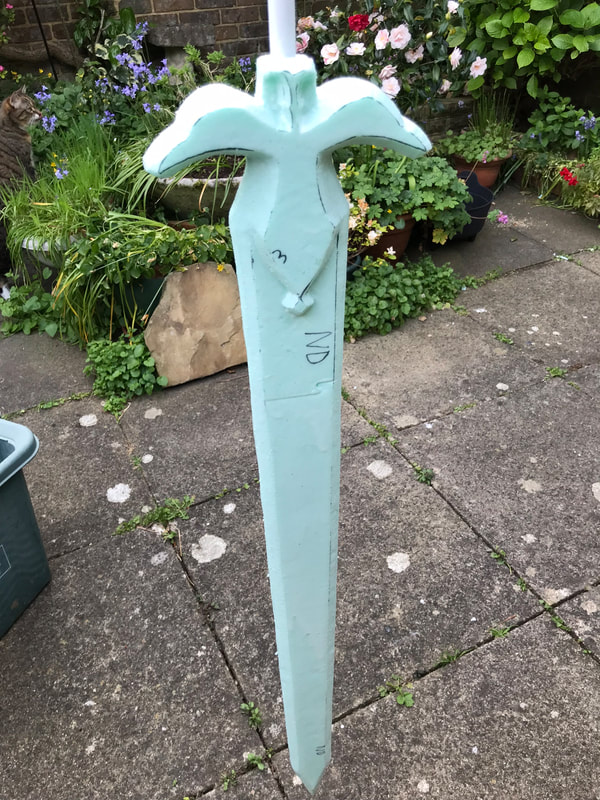
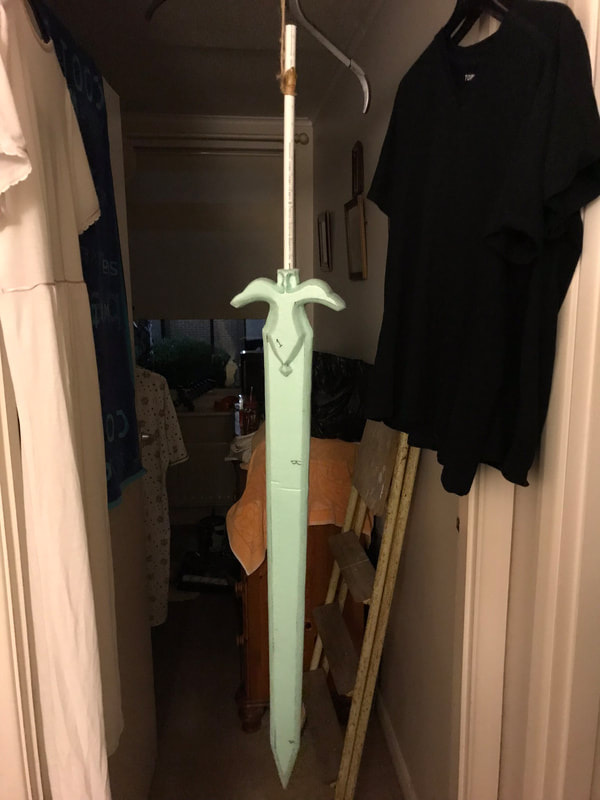
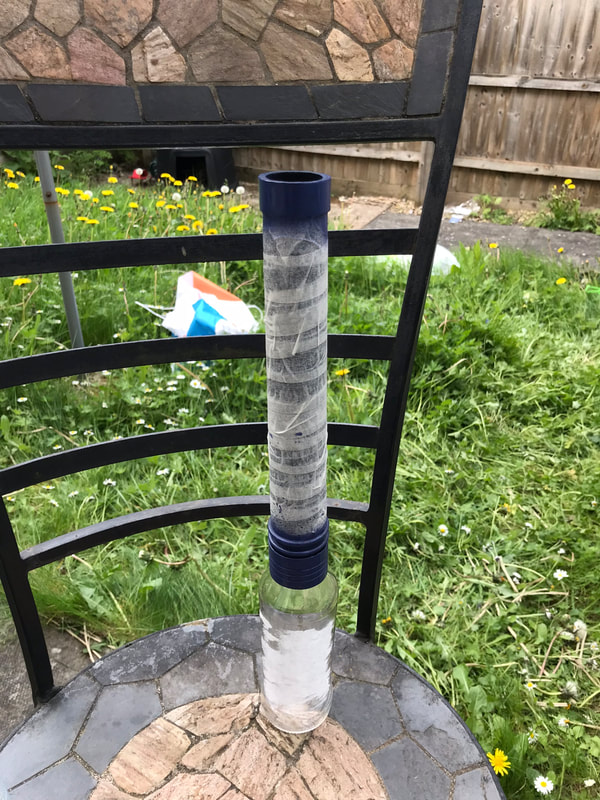
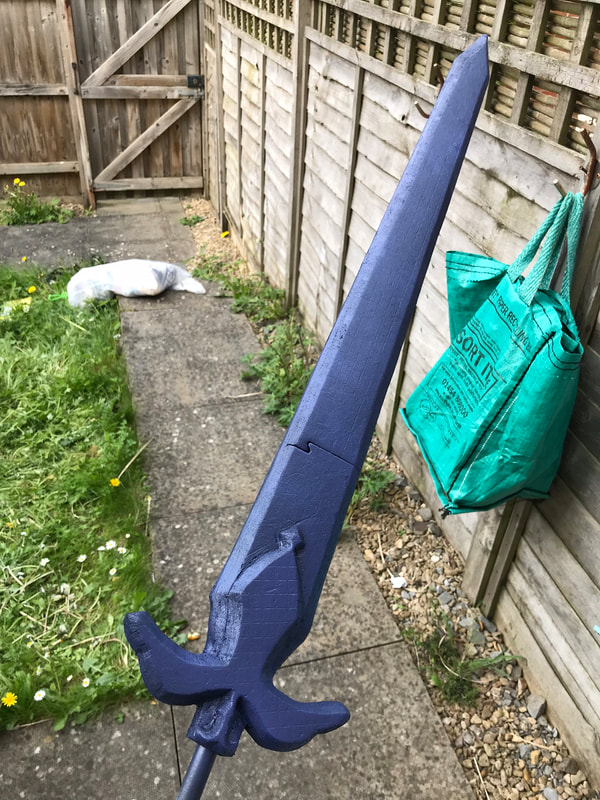
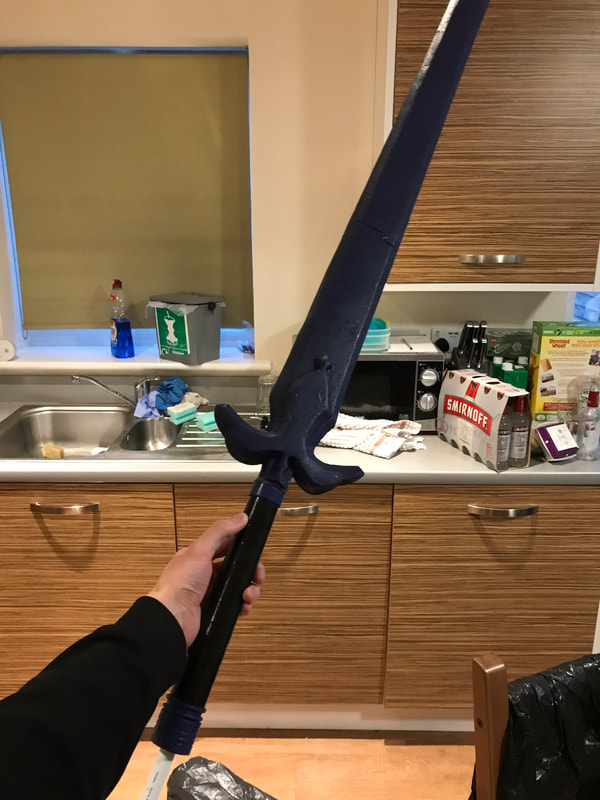
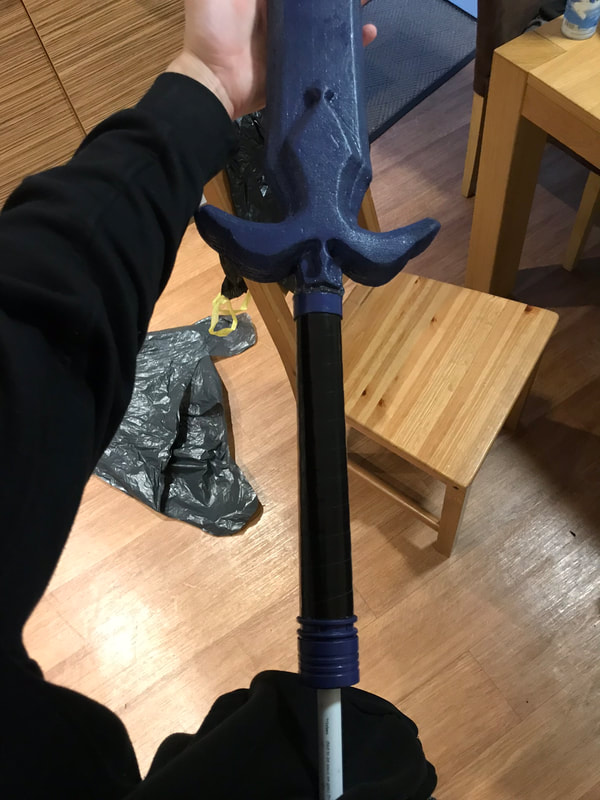
Night Sky Sword
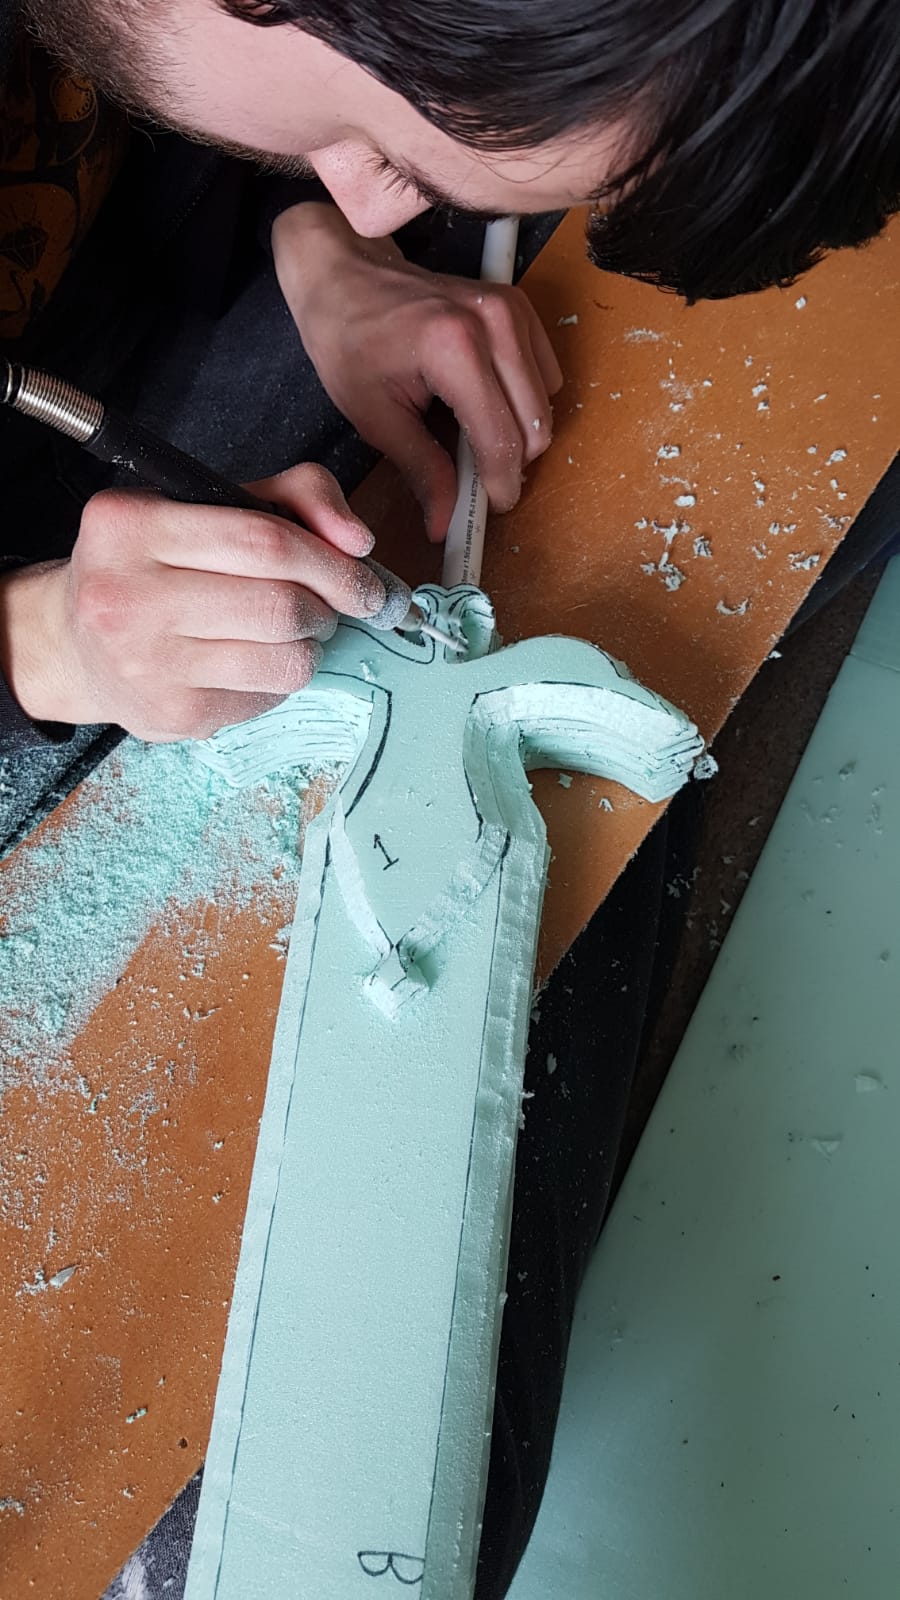
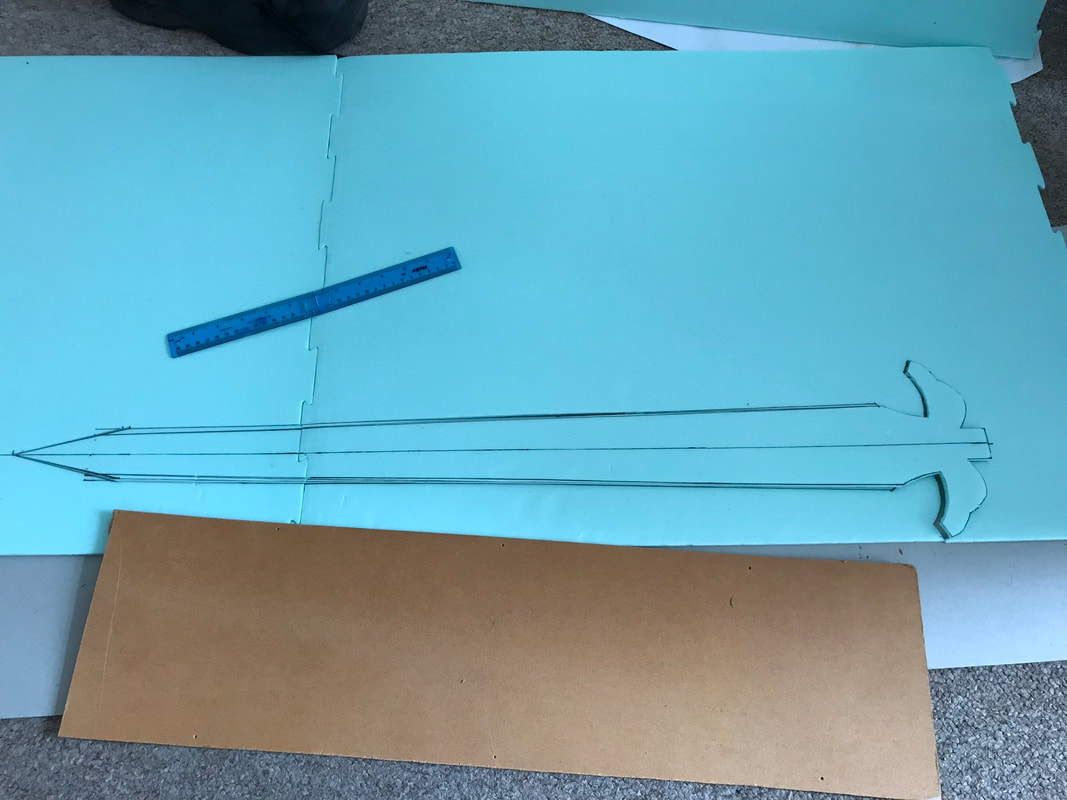
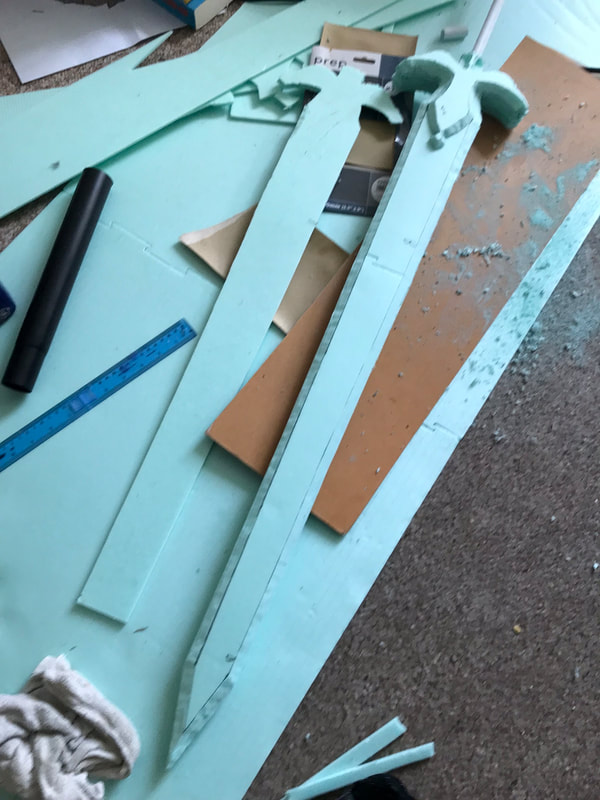
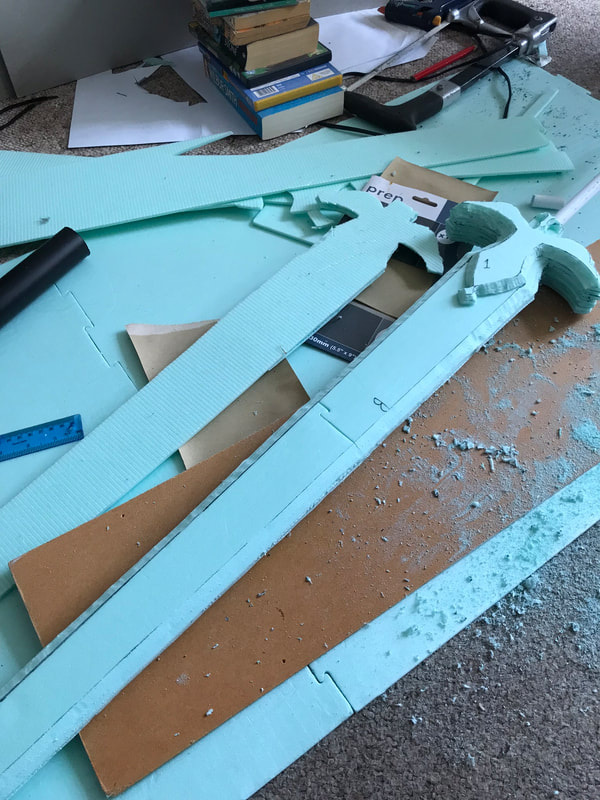
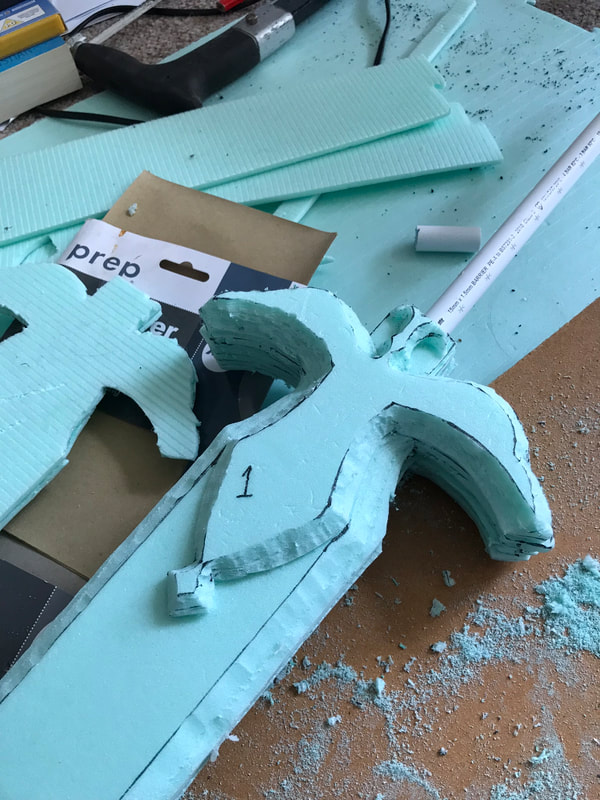
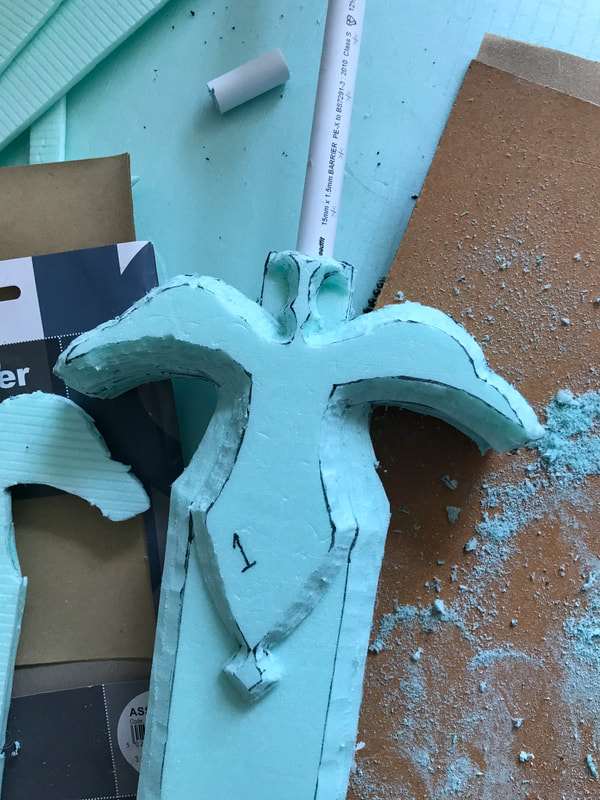
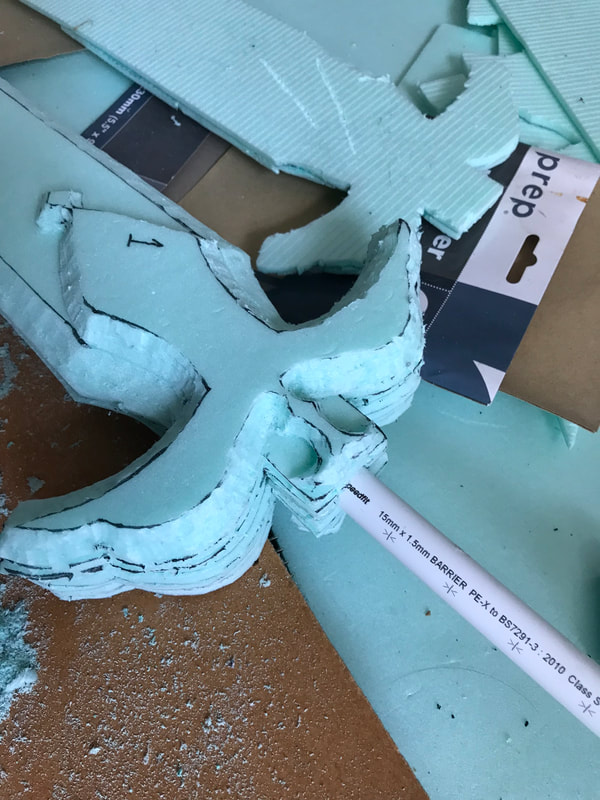
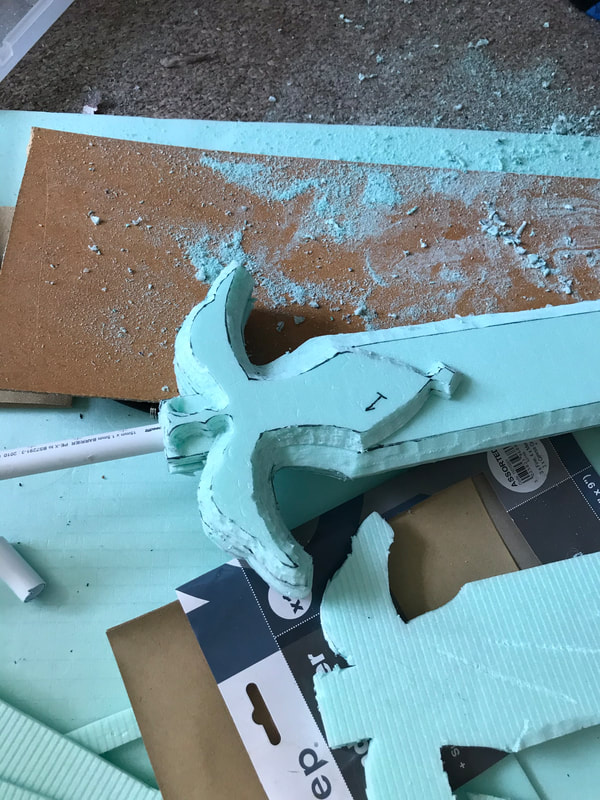
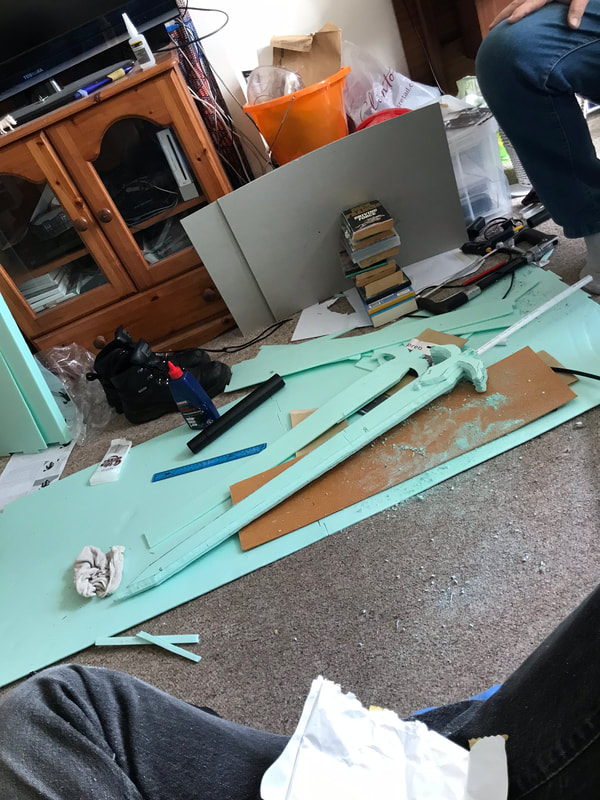
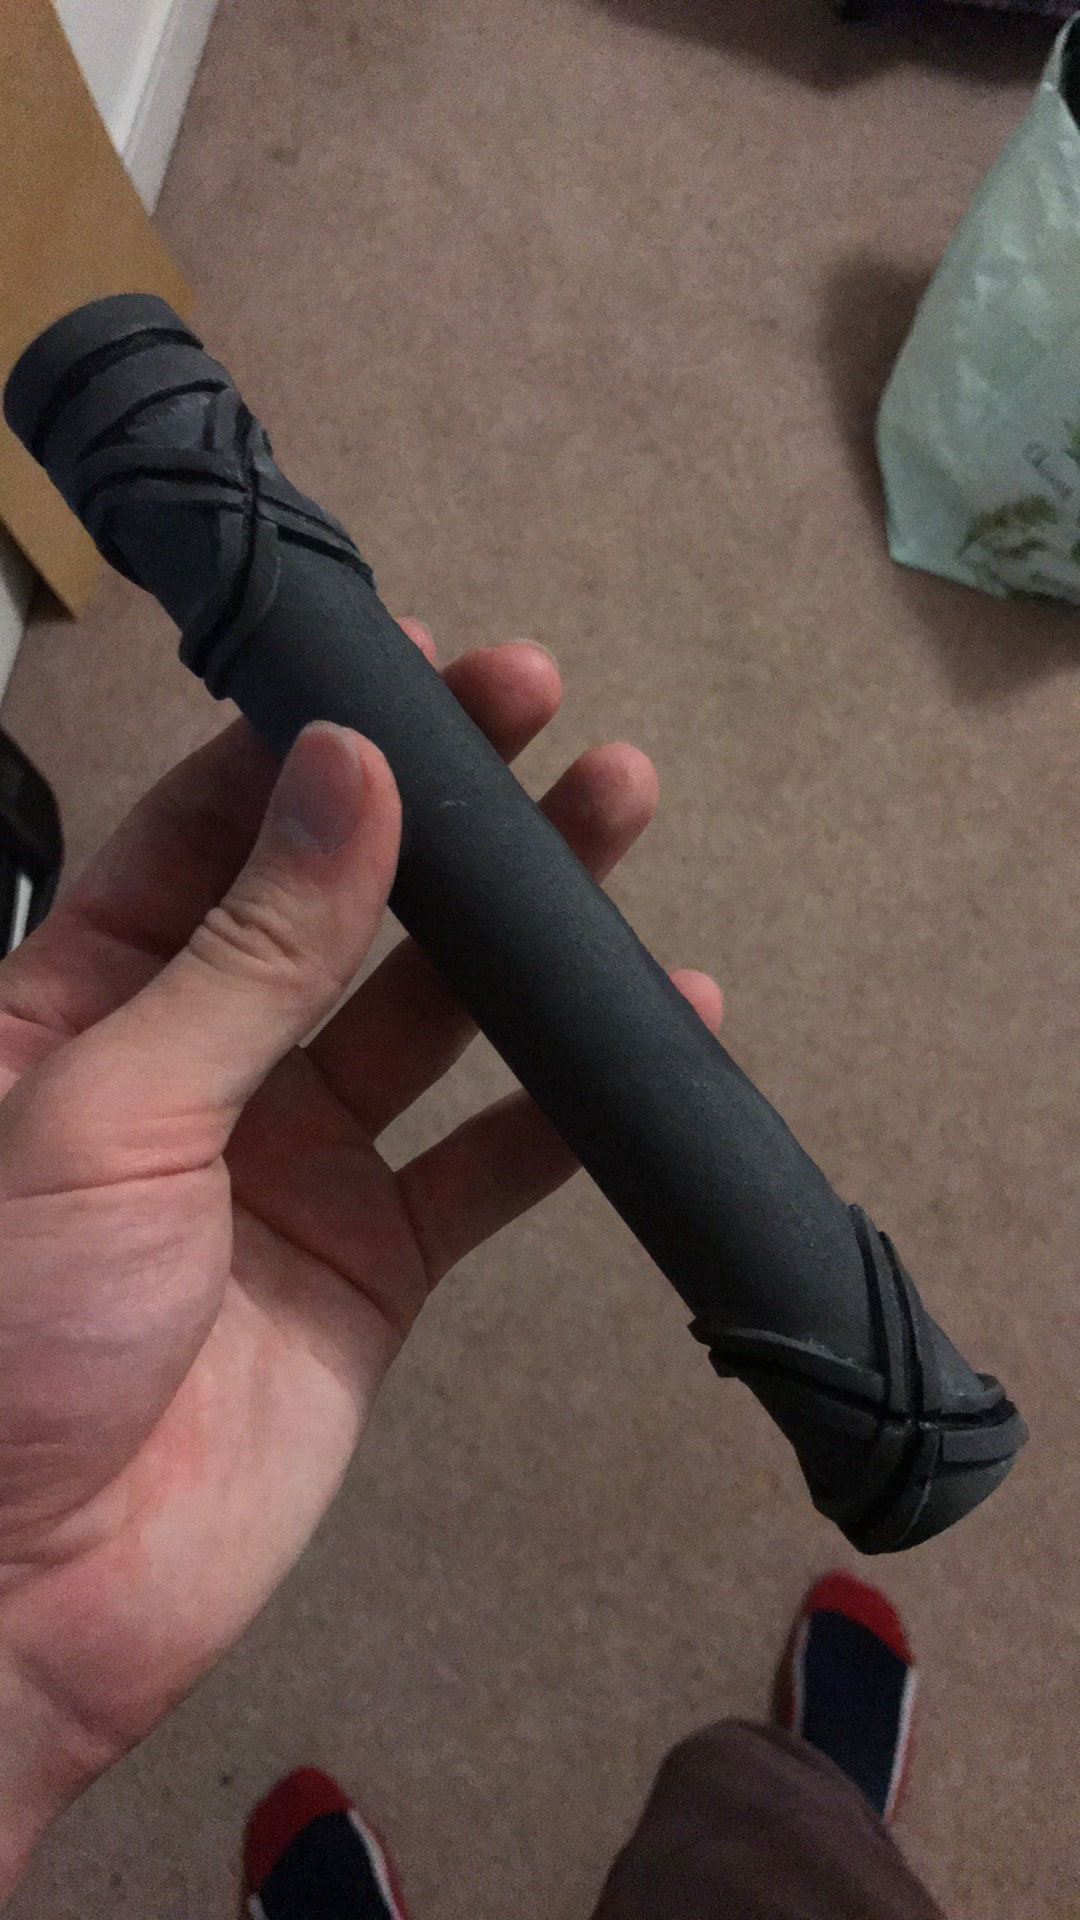
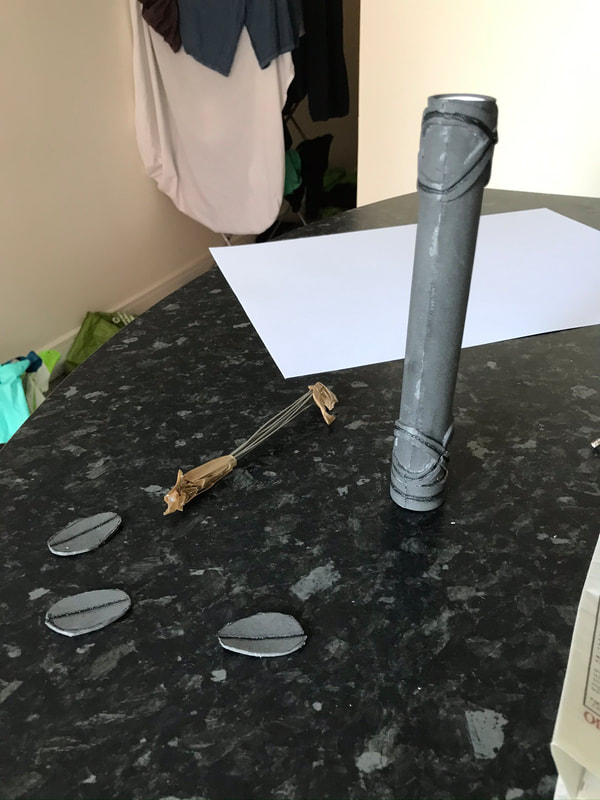
Materials And Build Process:This was the first time I made a sword from scratch, and it was also made by using just materials I could find at the time, which involved floor foam that I learnt was not a good decision for quality. I'm still glad I made this prototype as it taught me many things.
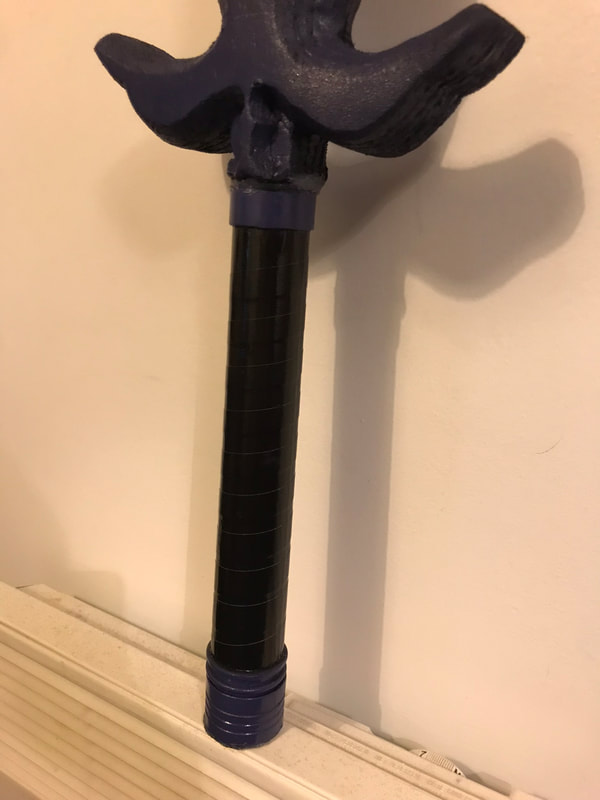
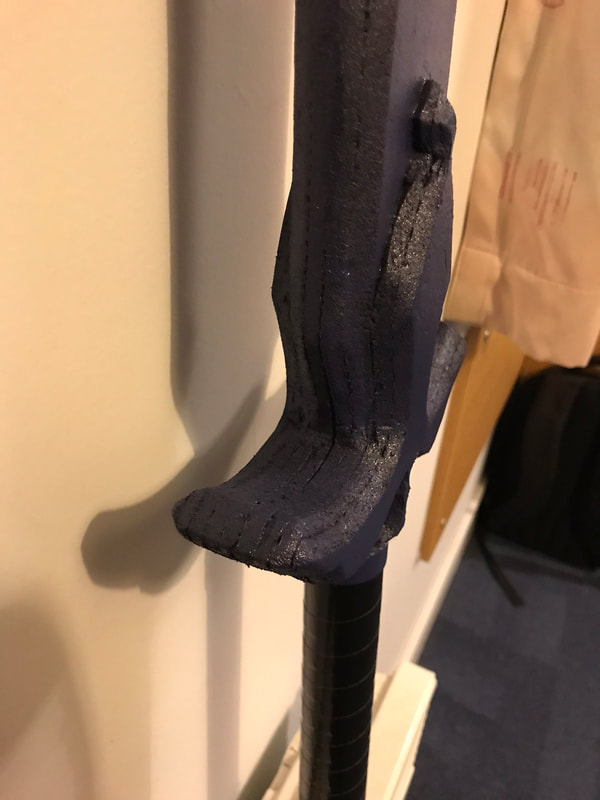
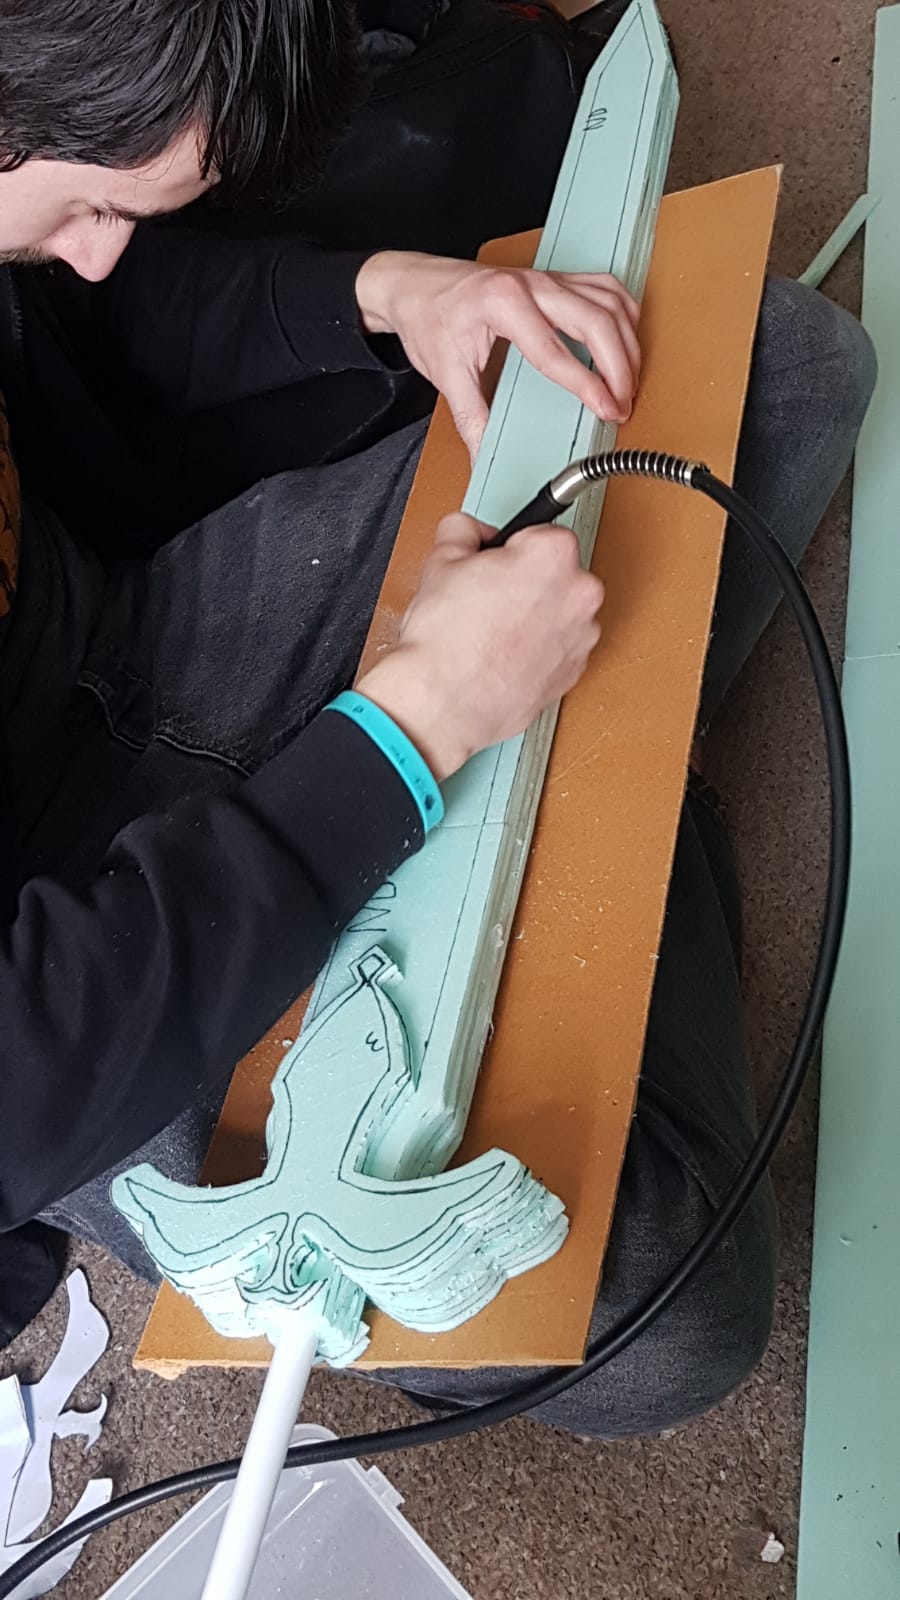
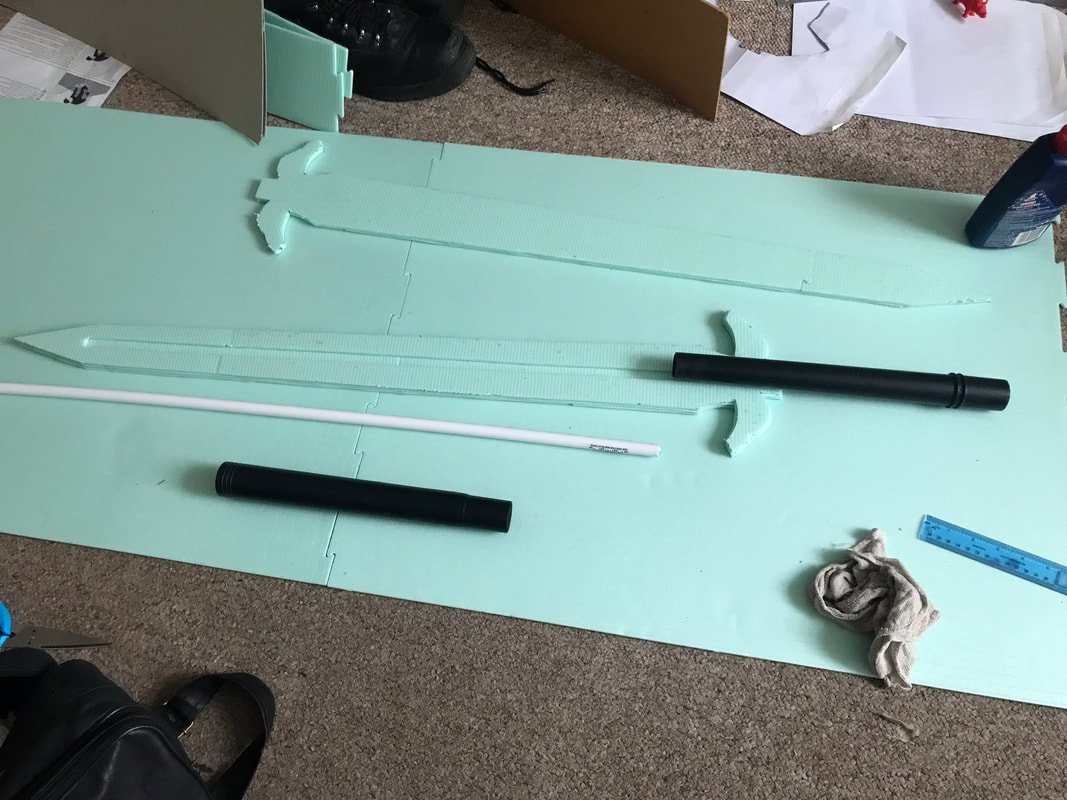
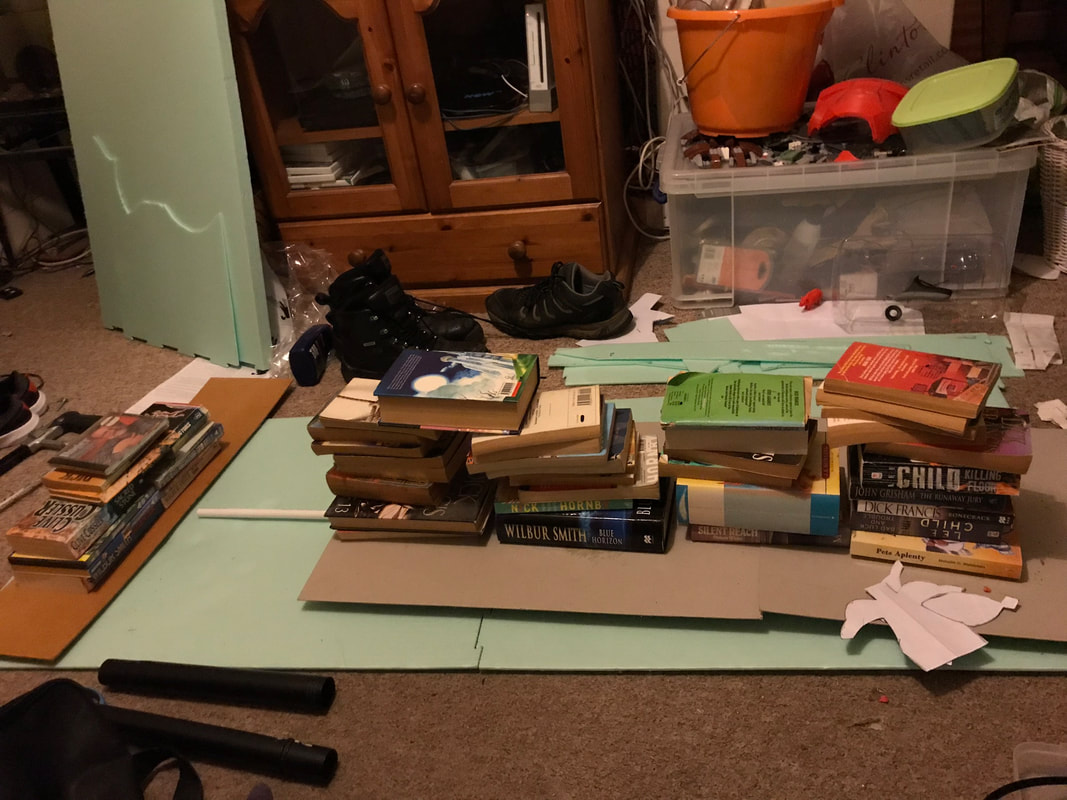
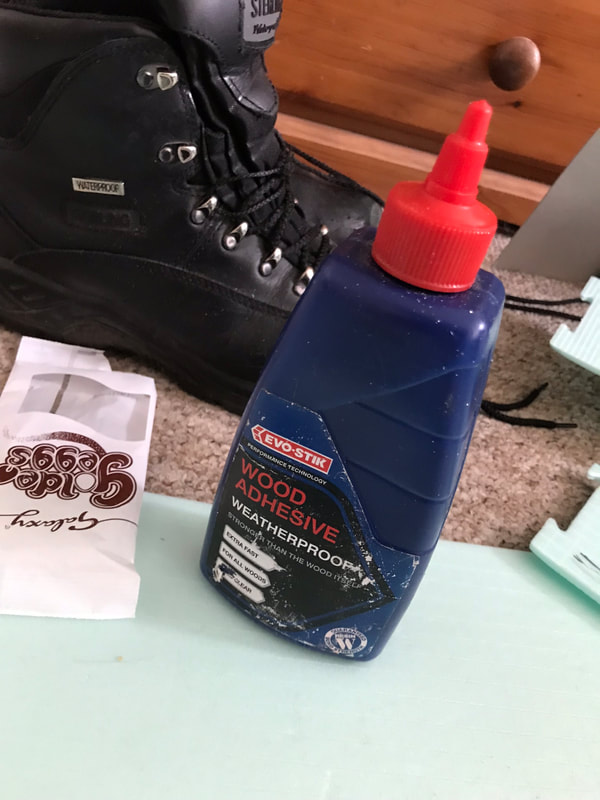
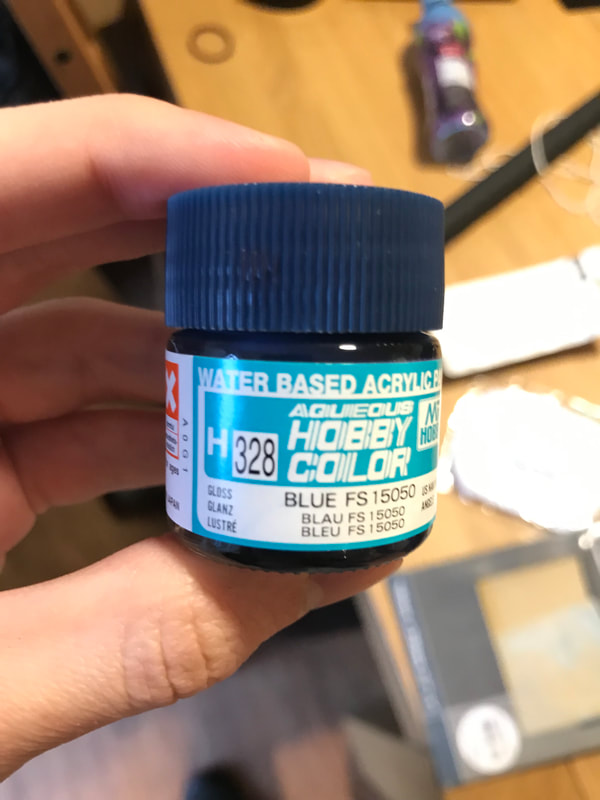
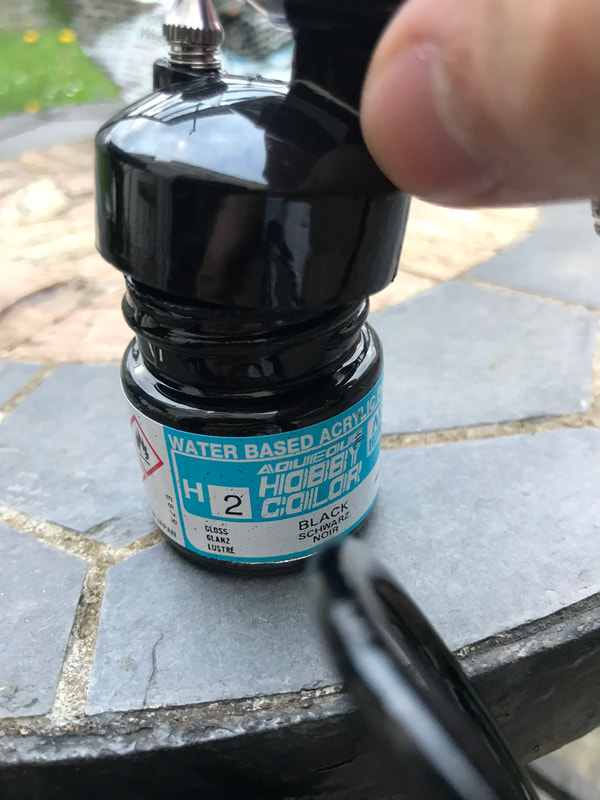
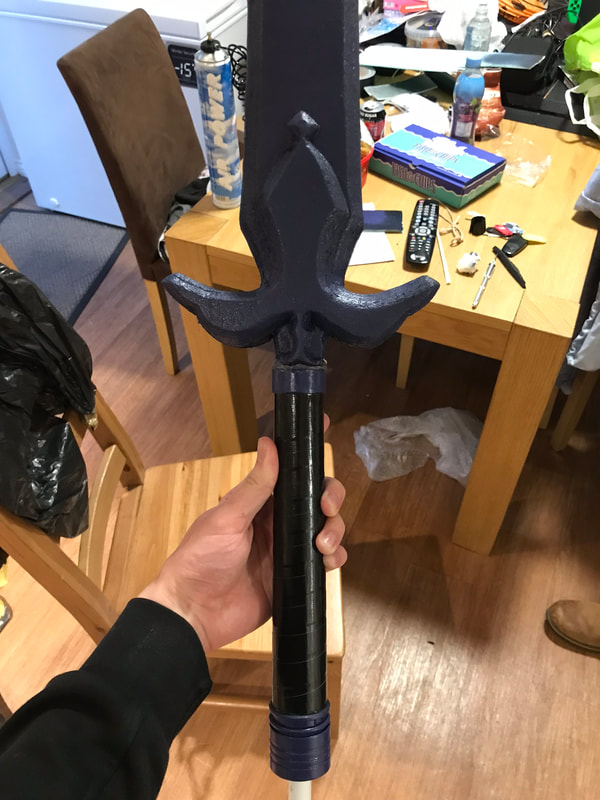
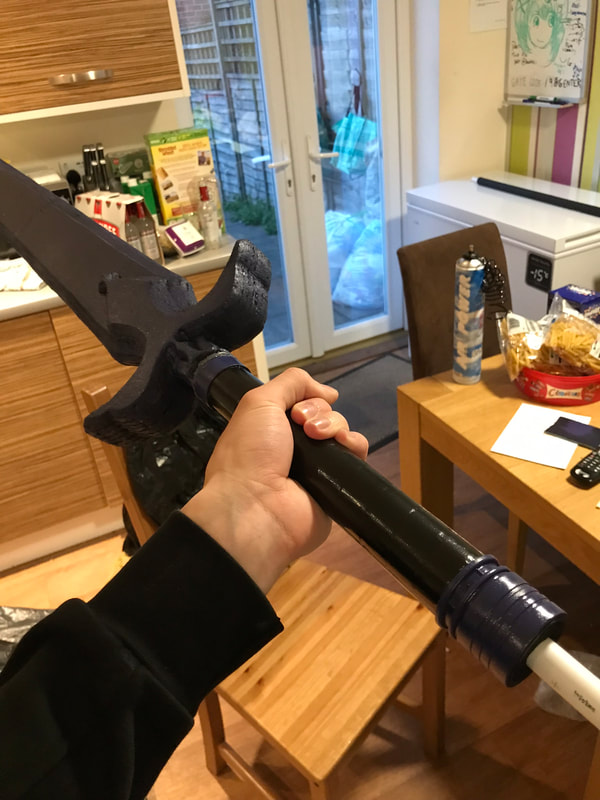
I used PVC piping for the core of the sword for strength, then wrapping that in layers of cut out flooring foam. This flooring foam came in pads, and so you can actually see the joint lines of the puzzle style interlocking edges still on the finished blade, as well as a light grid texture all over. I used an electric hand-held Dremel tool to sand down the edges to add a chamfer effect, shaping the layers for as smooth a finish as I could. I used an old vacuum cleaner's extension hose as the hilt, which actually came out pretty perfectly. On the handle, I wrapped the grip in black water-proof tape in a spiral fashion to add a nice visual finish. Finally, I experimented with a model spray paint kit, which used up a LOT of paint for the small glasses they originally came in. Learnt that I should only use model spray paint for highlight layers or small areas. I added foam padding between the handle and the core rod when I stick them together, but this resulted in leaving flex between the handle and the blade, causing damage between when it glue onto the blade, also tremendously making the sword more flimsy.
|

|
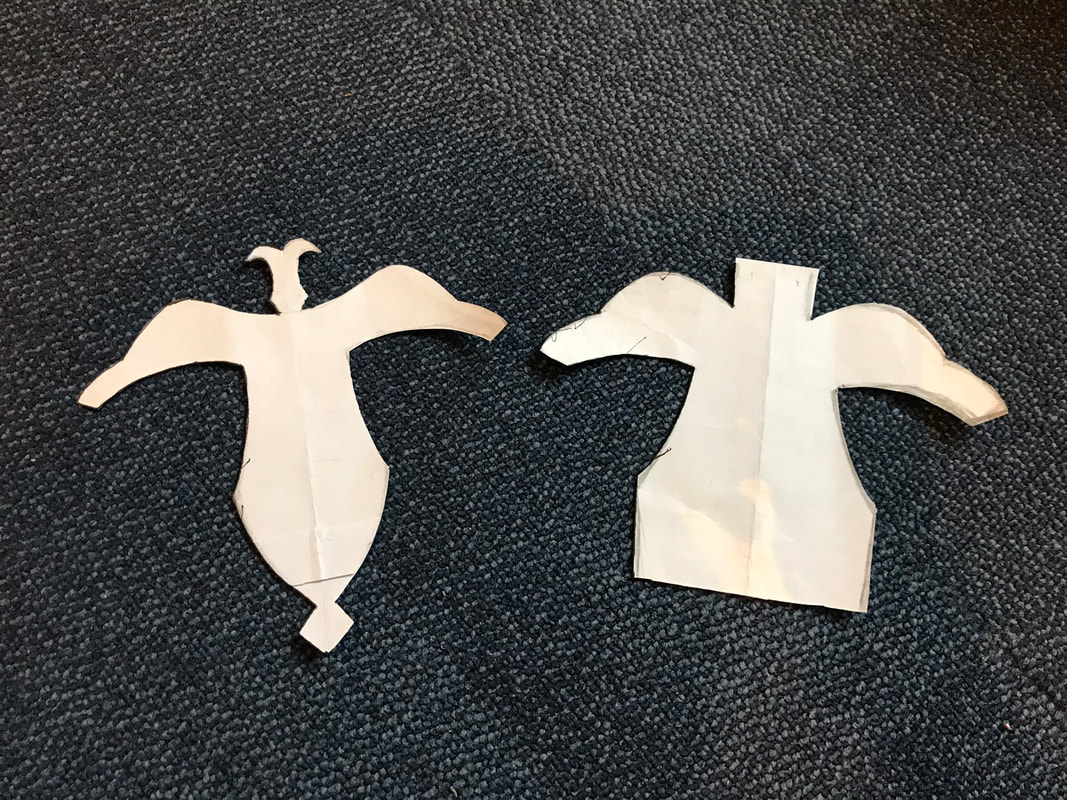
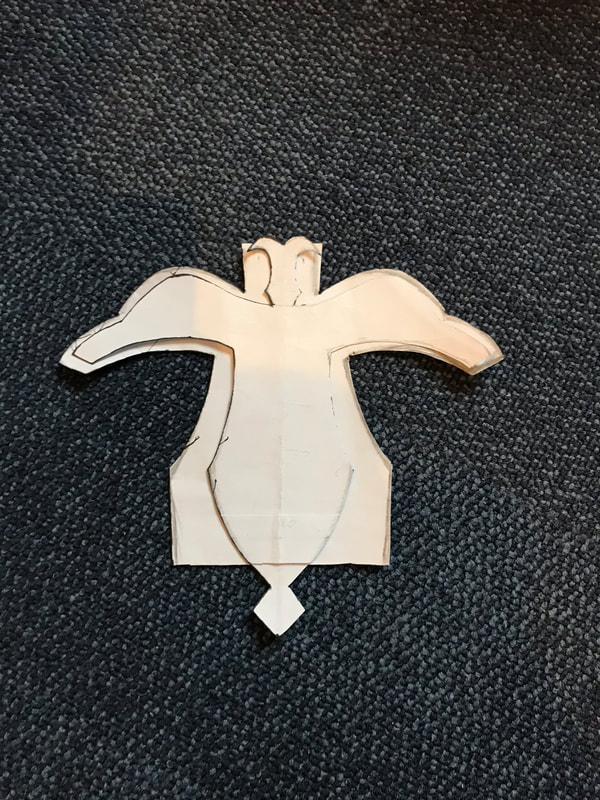
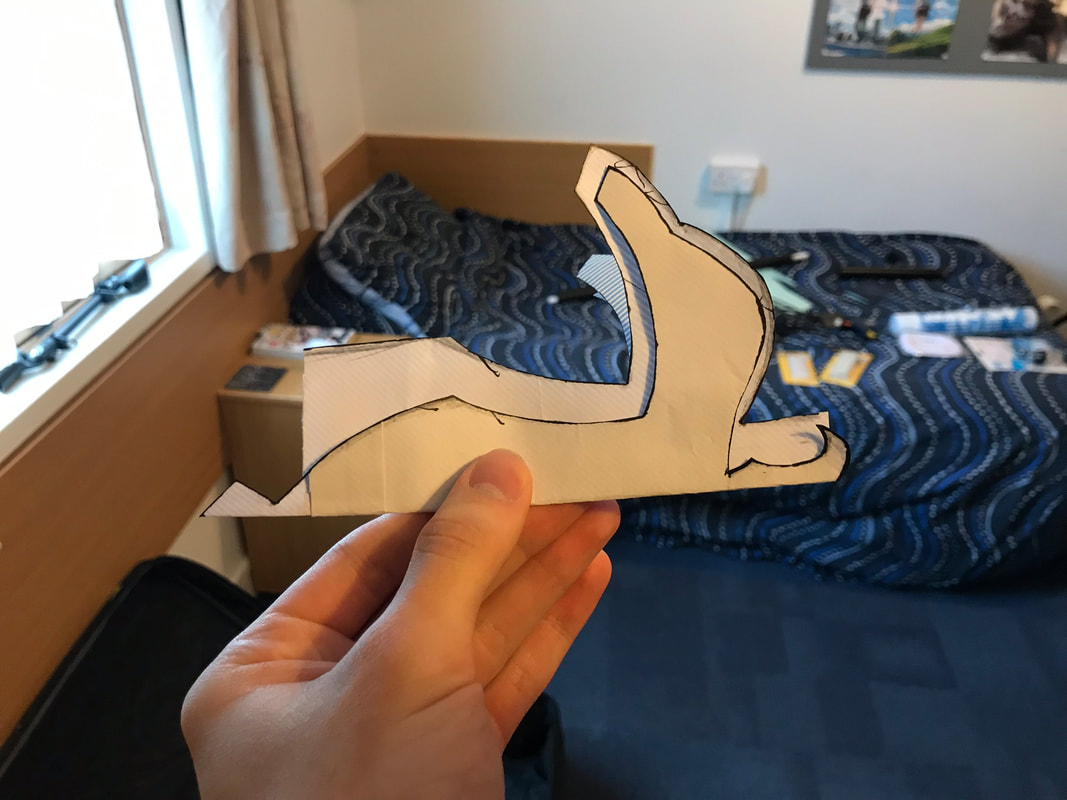
Original Design:
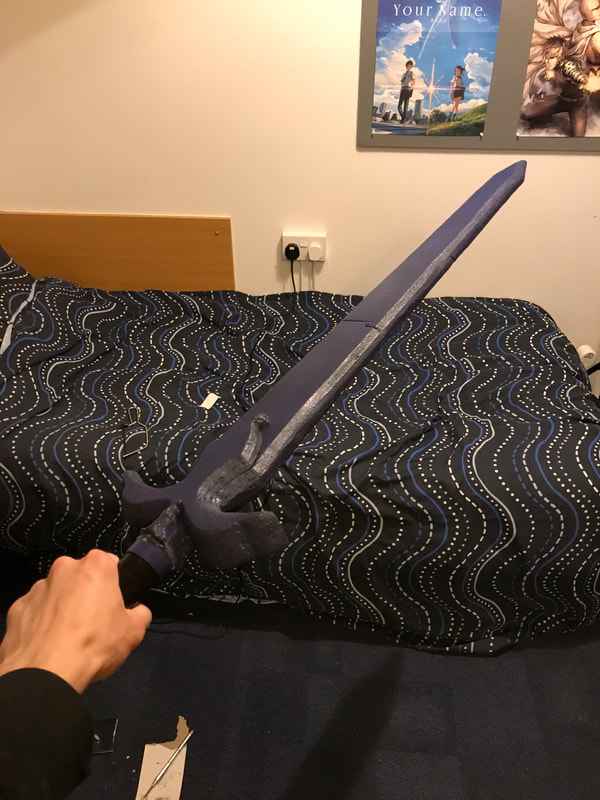
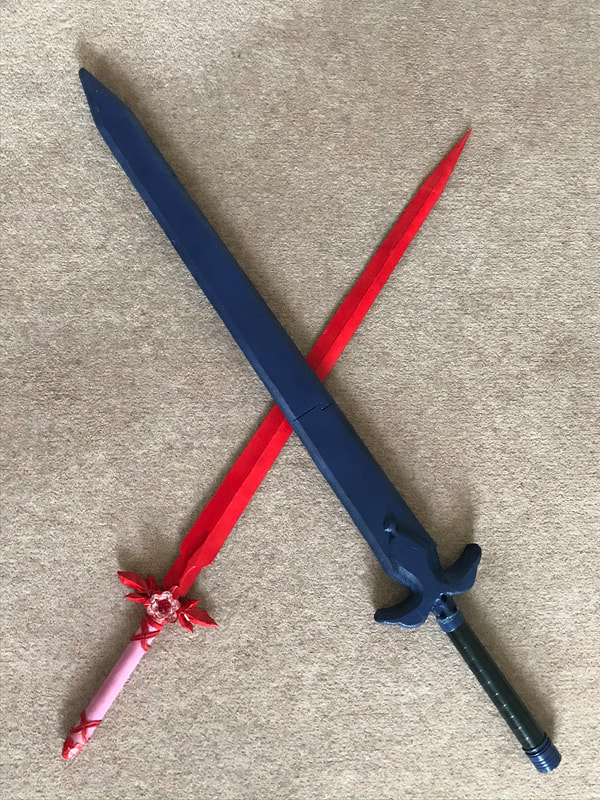
Finished Design: |
Production Gallery: |